Saturday, December 4, 2010

Ornament wreath tutorial


I saw one of these ornament wreaths while Christmas shopping last year, and thought, I bet I could make that!  So I bought a bunch of pretty ornaments and went to town...Do you want to make one also??      Heres how:

What you will need:

(1) 12" floral wreath ( I like the white compressed styrofoam ones, as opposed to the green boxy circular ones, I find the ornaments stay adhered better)
12-18" piece of ribbon (for hanging on wall)
Hot glue gun and glue sticks
approx. 50 medium size colored ornaments (the ones I used were about 2 1/2" to 3" in diameter

Directions:

1.  Select about 20 ornaments and lay them out around the outer edge of the wreath to check for sizing and layout:

2.  Using your glue gun, attach each ornament, with the part where an ornament hook would attach facing down, so that you won't see that part when the wreath is assembled.  When glueing, I like to not only glue the ornament to the wreath, but also to the ornament next to it for extra security:


3.  Once all your outer ornaments are attached, I then arranged ornaments along the inside of the ring, again to check for spacing and the layout:

4.  You  guessed it, hot glue these in place, again keeping the ornament hook part facing down.

5.  What I did next was arrange a ring of ornaments in the gaps between the outer ring of ornaments and the wreath its self.  I find it easiest to put the hook part down in the gap like this:

6.  Hot glue these ornaments in place

7.  Next arrange a ring of ornaments along the "valley" between the inner ring of ornaments, the inner portion of the white wreath, next to the ring of ornaments you just glued into place (I fit about 8 ornaments here):

8.  Hot glue these into place, again keeping the hook part facing down:

9.  The last ring of ornaments you will attach will sit ontop of the previous two rings you attached, sort of forming a pyramid.  Arrange your ornaments so that you are hiding the majority of the white wreath that is still showing.  Hot glue in place.

10.  Turn your wreath carefully upside down and place on a table.  Find where you want the top of your wreath to be, and at this point, thread your ribbon inbetween the ornaments, so the ribbon will be tied against the wreath, and not the ornaments.  Tie in a knot, position the knot so that it on the back side of the wreath and hang where you desire!

11.  Sit back and enjoy your pretty new holiday wreath!

Happy Holidays!

Friday, December 3, 2010

Reunited...

Ahhh...at last, me and my sewing machine have been reunited.  It has seriously been entirely too too long since I was able to sit down and just sew for a few hours.   I think my machine thought I abandoned it, its been over a week, for sure. 

Tonight I was finally able to get back to sewing and get a little more quilting done on the Planes Trains and Automobiles quilt...


Its about 75% quilted...I decided to straight line quilt this with my walking foot 1/4 inch on each side of both rows and columns.  I'm also cross hatching 1/4 inch on each side of the diagonals as well.  I'm using a chalk-marking thing, which I've never used before...Im not completely crazy about it, but we'll see...More to come soon, this quilt needs to be completed ASAP, as its a Christmas gift, and Christmas will be here before I know it!


I also completed Amy's block for the Sew Fun bee.  Her month was November and she requested string blocks!  She sent us a brown solid as the center strip, and a bunch of prints is blues, browns and creams, so so pretty.  We were to make 4 8 1/2 inch squares that will be sewn together into a large 16 inch finished block.  Amy requested that we use a paper method like this and that we leave the paper on the backs to keep the blocks stable, and requested that we not sew the 4 squares together.


Cant wait to see her king size quilt all put together!

Unfortunately it is likely going to be a few days until I'm back with my sewing machine, Sunday is the day of our cookie exchange, and I'm hosting this year, so tommorow I'll be elbow deep in cleaning solution getting this house spic-n-span...again!  haha.

I have plans to put together some super cute and easy ornament wreaths, come back and see how to make one for yourself!

Wednesday, December 1, 2010

Quilt Pattern

Pardon my absence these past few days...with the hectic-ness of getting the house ready, hosting Thanksgiving, and the mad clean up and a small bout of the flu thrown in there, I must admit, much sewing has not been done!  At last, I have finished writing up the pattern/tutorial for the simply squares/Lions and Tigers and Bears Oh My! quilt!!  This is my first attempt, so bear with me, but here goes!

Simply Squares Quilt Pattern

Fabric Requirements

Quilt Top
Fabric A (Focus Fabric) : 1 yard
Fabric B: 1/2 yard fabric
Fabric C: 1/2 yard fabric
Fabric D: 1/2 yd fabric
Fabric E: 1/2 yd fabric
Fabric F: fat quarter (you will use just about every bit)
Fabric G: fat quarter (you will use just about every bit)
Quilt Back
 Solid H: 2 yards solid fabric
Solid J: 1 yard (if you don’t mind a seam through the middle of your smaller solid piece on the back) or 2 yards (this will allow for enough width to avoid a seam through your smaller solid piece on the back)
Pieced Portion: You will need an assortment of different height fabric scraps(total length needs to be 55 inches) that are featured on your quilt top that measure 8 1/2 inches wide.
  
Block Design
Block 1
  • 10 1/2 x 10 1/2 inch square (You will be making 8 block #1s) 
Block 2
  • (4) 5 1/2 X 5 1/2 inch blocks sewn together to make (1) 10 1/2 x 10 1/2 inch block (You will be making 6 block #2s)
  
Block 3
  • 6 1/2 x 6 1/2 inch block inside of 10 1/2 x 10 1/2 inch block (you will be making 7 block #3s)
Block 4
  •  (4) 3 1/2 x 3 1/2 inch block inside of 5 1/2 X 5 1/2 inch block sewn together to make (1) 10 1/2 x 10 1/2 inch block (you will be making 4 block #4s)


Cutting Instructions
Fabric A (Focus fabric)
  • Cut (8) 10 1/2 x 10 1/2 inch squares. Set aside, label Block 1.
Fabric B
  • From your 1/2 yard of fabric (with fabric folded in half, width wise, or selvage to selvage), cut 2 5 1/2 inch strips. Cross cut cut each strip 3 times, so you have (6) 5 1/2 squares from each strip, for a total of (12) 5 1/2 inch squares. Set aside, label fabric B, block 2. (Please note, below diagram is not drawn to scale)

Fabric C
  • From your 1/2 yard fabric (with fabric folded in half width wise, or selvage to selvage), cut 2 5 1/2 inch strips. Cross cut each strip 3 times, so you have (6) 5 1/2 inch squares from each strip, for a total of (12) 5 1/2 inch squares. Set aside, label fabric C, block 2. (Please note, below diagram is not drawn to scale)

  • Your cut fabric for block 2 should look like this:

Fabric D
  • From your 1/2 yard fabric (with fabric folded in half width wise, or selvedge to selvedge), cut 2 6 1/2 inch strips. Cross cut (1) 6 1/2 strip three times, so you have (6) 6 1/2 inch blocks. Cross cut the second 6 1/2 inch strip once. You will have a total of (8) 6 1/2 inch squares. You will only need (7) total 6 1/2 inch blocks. Set aside (7) 6 1/2 squares, label fabric D, block 3.
Fabric E
  • From your 1/2 yard fabric (with fabric folded in half width wise, or selvedge to selvedge), cut (7) 2 1/2 inch strips. From (2) of the strips, cross cut (3) 6 1/2 inch strips. From (1) 2 1/2 inch strip, cross (1) 6 1/2 inch strip. You should have a total of (18) 2 1/2 x 6 1/2 inch strips. You will need 14 of these. Set aside (14) 2 1/2 x 6 1/2 inch strips
  • From (4) of the 2 1/2 inch strips, cross cut (2) 10 1/2 inch strips. You should have (16) 10 1/2 x 2 1/2 inch strips. You will only need 14 of these. Set aside (14) 10 1/2 x 2 1/2 inch strips and label fabric E block 3.
  • Your cut fabric for block 3 should look like this:
Fabric F
  • **Please note, you will use every bit of your fat quarter, there is no room for cutting error!**
  • Align your fat quarter as pictured below. Cut (2) 3 1/2 inch strips. Sub cut the 2 strips, cross cut (4) 3 1/2 inch squares. You should have a total of (8) 3 1/2 inch squares. Set aside, label block 4.
  • From the rest of your fat quarter, cut (9) 1 1/2 inch strips. From (3) of the 1 1/2 inch strips, cross cut (5) 3 1/2 inch strips.
  • From (1) of the 1 1/2 inch strips, cross cut (1) 3 1/2 inch strip and (1) 5 1/2 inch strip.
  • From the remaining (5) 1 1/2 inch strips, cross cut (3) 5 1/2 inch strips.
  • You should have total of (16) 3 1/2 inch strips and (16) 5 1/2 inch strips. Set aside, label fabric F block 4.

Fabric G
  • (Same cutting instructions as Fabric F)
  • **Please note, you will use every bit of your fat quarter, there is no room for cutting error!**
  • Align your fat quarter as pictured below. Cut (2) 3 1/2 inch strips. Sub cut the 2 strips, cross cut (4) 3 1/2 inch squares. You should have a total of (8) 3 1/2 inch squares. Set aside, label block 4.
  • From the rest of your fat quarter, cut (9) 1 1/2 inch strips. From (3) of the 1 1/2 inch strips, cross cut (5) 3 1/2 inch strips.
  • From (1) of the 1 1/2 inch strips, cross cut (1) 3 1/2 inch strip and (1) 5 1/2 inch strip.
  • From the remaining (5) 1 1/2 inch strips, cross cut (3) 5 1/2 inch strips.
  • You should have total of (16) 3 1/2 inch strips and (16) 5 1/2 inch strips. Set aside, label fabric G block 4.
  • Your cut fabric for block #4 should look like this:

Block Assembly
Assembling Block 1
  • This block is easy-peasy! Your 10 1/2 inch fabric square is your block! Set aside labeled Block 1

Assembling Block 2

  • Take (1) 5 1/2 inch square of fabric B and (1) 5 1/2 inch square of fabric C. Sew together, right sides facing using a 1/4 inch inseam. Press seams open. Repeat until you have 12 sets of (1) fabric B square and (1) fabric C square sewn together with seams pressed open.
  • Take (2) sets of sewn together fabric B’s and C’s. Align seams together so that (1) fabric B square is on top of (1) fabric C square, right sides should be facing each other. Sew the two blocks together using 1/4 inch seam, and press seams open. Finished Block 2 should look like this:
  • You should have (6) 10 1/2 inch squares. Set these aside, labeled block 2.
Assembling Block 3
  • Take (1) 6 1/2 square of fabric D, and (2) 6 1/2 x 2 1/2 inch strips. Sew the (2) 6 1/2 x 2 1/2 inch strip onto opposite ends of the 6 1/2 inch square using a 1/4 inch inseam. Press seam open.
  • Take (2) 10 1/2 x 2 1/2 inch strips of fabric D. Sew the (2) 10 1/2 x 2 1/2 inch strips onto each long side (the side that has an exposed edge of your 6 1/2 inch square) using a 1/4 inch inseam, press open. You should now have a 10 1/2 inch finished square-in-square style block. Finished Block 3 should look like this:
  • You should have (7) 10 1/2 inch squares. Set these aside, labeled block 3.
Assembling Block 4
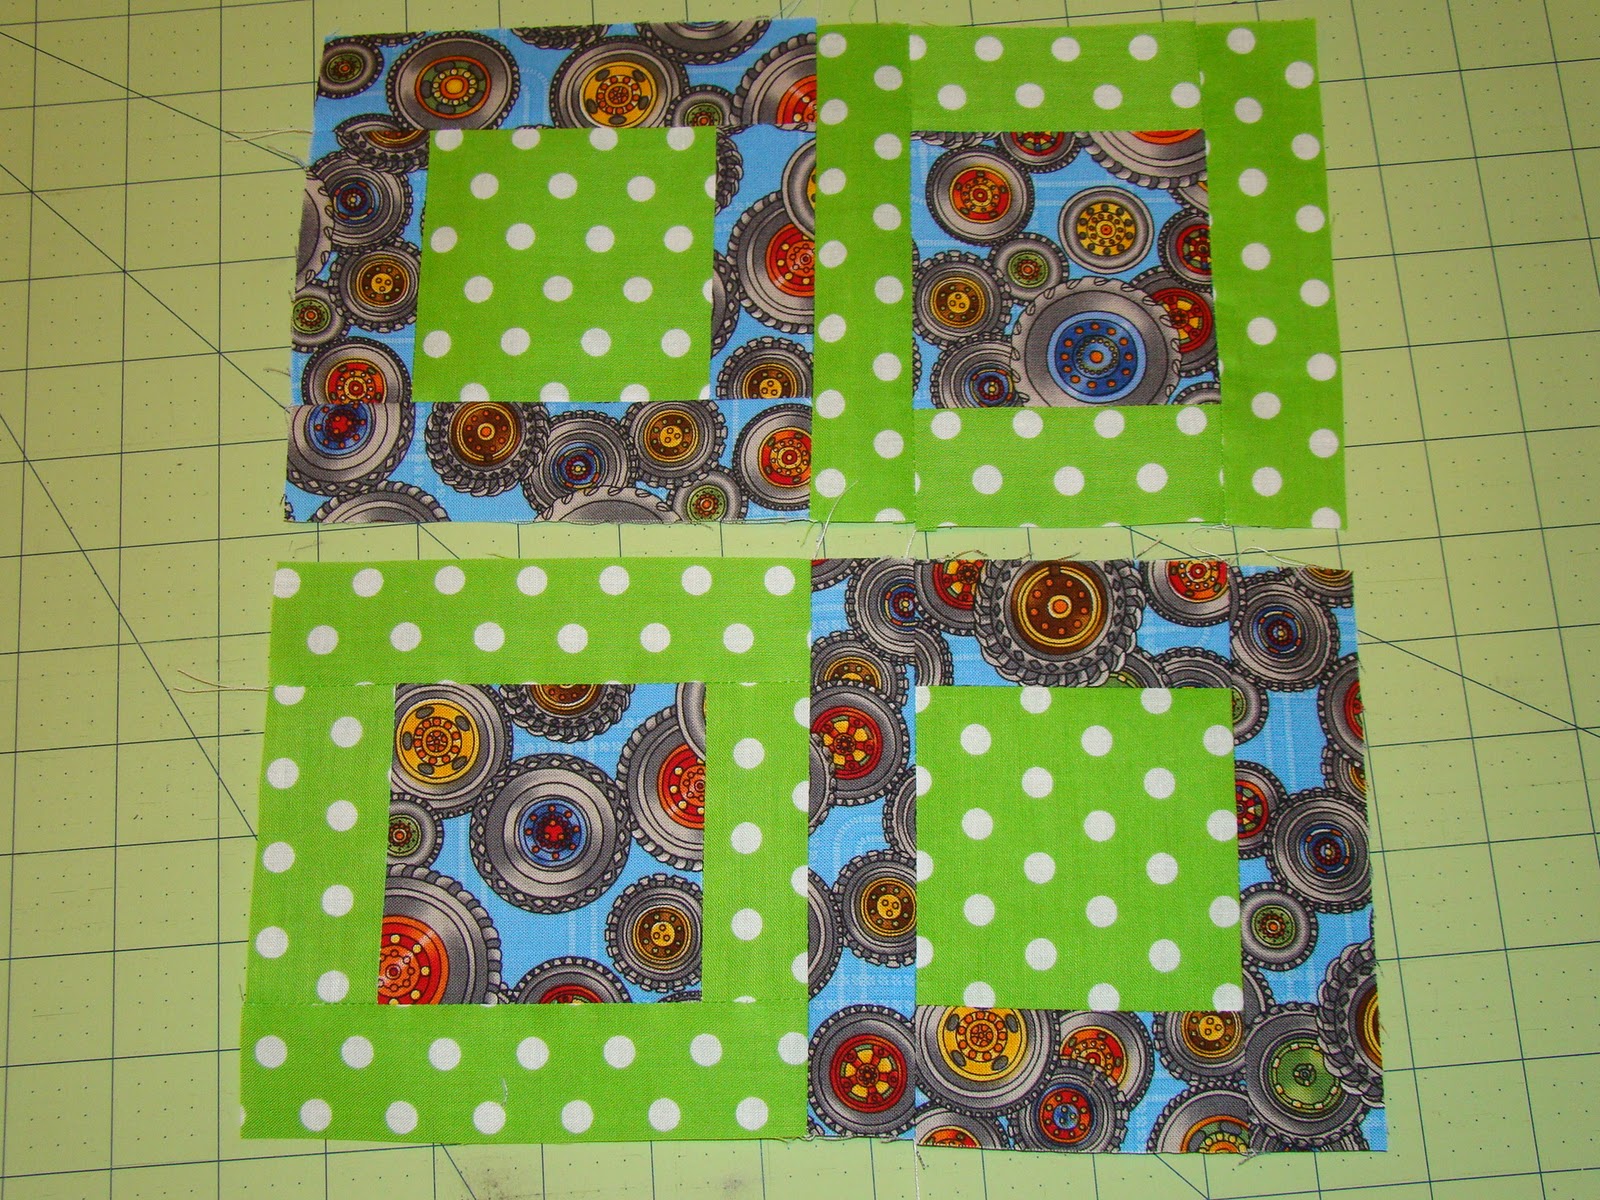
  • To assemble block 4, you will essentially be making (4) smaller scale block #3s and sewing them together to make a finished 10 1/2 inch block.
  • Take (2) 3 1/2 inch squares of fabric F and (4) 3 1/2 x 1 1/2 inch strips of fabric G. Sew (2) 3 1/2 x 1 1/2 inch strips onto opposite ends of each 3 1/2 inch square using a 1/4 inch inseam. Press seam open.
  • Take (4) 5 1/2 x 1 1/2 inch strips of fabric G. Sew (2) 5 1/2 x 1 1/2 inch strips onto each long side (the side that has an exposed edge of your 3 1/2 inch square) using a 1/4 inch inseam, press open.
  • Now, Take (2) 3 1/2 inch squares of fabric G and (4) 3 1/2 x 1 1/2 inch strips of fabric F. Sew (2) 3 1/2 x 1 1/2 inch strips onto opposite ends of each 3 1/2 inch square using a 1/4 inch inseam. Press seam open.
  • Take (4) 5 1/2 x 1 1/2 inch strips of fabric F. Sew (2) 5 1/2 x 1 1/2 inch strips onto each long side (the side that has an exposed edge of your 3 1/2 inch square) using a 1/4 inch inseam, press open.
  • You should now have (4) 5 1/2 inch square-in-square style blocks, (2) with fabric F as the center fabric, and 2 with fabric G as the center.
  • We will finish this block in a similar manner to block #2.
  • Pair (1) 5 1/2 inch block with fabric F as the center with (1) 5 1/2 inch block with fabric G as the center. Sew each set together, right sides facing using a 1/4 inch inseam. Press seams open.
 
  • Take (2) sets of sewn together blocks. Align seams together so that (1) fabric F centered square is on top of (1) fabric G centered square, right sides should be facing each other. Sew the two blocks together using 1/4 inch seam, and press seams open. Your finished block should look like this:
  • You should have 4 completed 10 1/2 inch blocks. Set aside, labeled block #4.
Assembling your quilt top
  • Now that all the blocks are constructed, it’s time to assemble your quilt top. Using the below diagram as a guide, place your completed blocks on a design wall or floor space.
  • Sew blocks together, row by row, using 1/4 inch seams and press seams open, until you have 5 rows consisting of 5 blocks per row.
  • Now sew each row together, again using 1/4 inch seams and pressing seams open.
  • Ta-Da! You should now have a completed quilt top that measures 50 inches x 50 inches.
Assembling your Quilt Back
  • Sew your assortment of 8 1/2 inch wide fabric scraps featured on your quilt top together, right sides together using a 1/4 inch inseam until you have a length of 55 inches. Press seams open.
  • Take your 2 yard piece of solid fabric and cut to 35 1/2 inches x 55 inches.
  • Take your 1 or 2 yard piece of solid fabric for the smaller part of your solid quilt back. You need the total size to be 13 1/2 x 55 inches. Again, if using a 2 yard cut of fabric, you will have enough to avoid a seam through the middle of your sold. If you decide you don’t mind the seam, cut your 1 yard piece of fabric, so you have (2) 1 yard x 21-22 inch pieces of fabric. Sew these together so you have one long 2 yard x 21-22 inch piece of solid fabric. Cut this so that it measures 13 1/2 x 55 inches.

Tuesday, November 23, 2010

Thanksgiving preparations


Because I certainly don't have enough items on my to do list in preparation for a house full of 20 people for Thanksgiving, I decided that I needed to make cloth napkins for setting the table.  It's one of those things, sometimes I get an idea in my head, and I just have to do it.  Immediately.  So thats precisely what I did.


Instead of cleaning my house (which has tumbleweeds of dog hair blowing across the floor...I swear I just vaccumed a few days ago...where does it all come from!!), or hanging the dining room curtains which has needed to be done for about a year now, and a multitude of other things I had planned to accomplish, I set out for the Joann's, found this really pretty brown and cream damask print, that I think goes perfectly with my pretty china, but also goes well with my Pfaltzgraff everyday dishes (which will all be in use to feed the masses for Thanksgiving dinner!)  And got to work creating.


These were so super simple to create, I prewashed and then ironed my fabric (all 12 yards of it! ack!!)  then cut 20 18 1/2" squares of both the brown damask print and some Kona solid in Bone for the backing, yes that was 40 squares I cut out!  I then sewed one brown damask square to one Kona solid square right sides facing, leaving about 4" to turn.  I then turned all 20 right sides out, pressed and top stitched 1/8" around the outer edge, and TaDa!  20 pretty cloth napkins to be used on Thanksgiving and beyond!


I highly recommend whipping some of these up, they really have a nice weight to them and look super pretty on the table!  Now I really must get to all those "to do's" on the list...time is slowly slipping away from me!

Friday, November 19, 2010

Planes, Trains and Automobiles


This quilt is the same pattern as the Lions and Tigers and Bears, Oh My! quilt.  I have actually been contacted a few times regarding a pattern for this quilt, and up until this point, I didn't have one to share.  I decided I would try my hand at pattern writing, and I have something that is just about ready to share! 

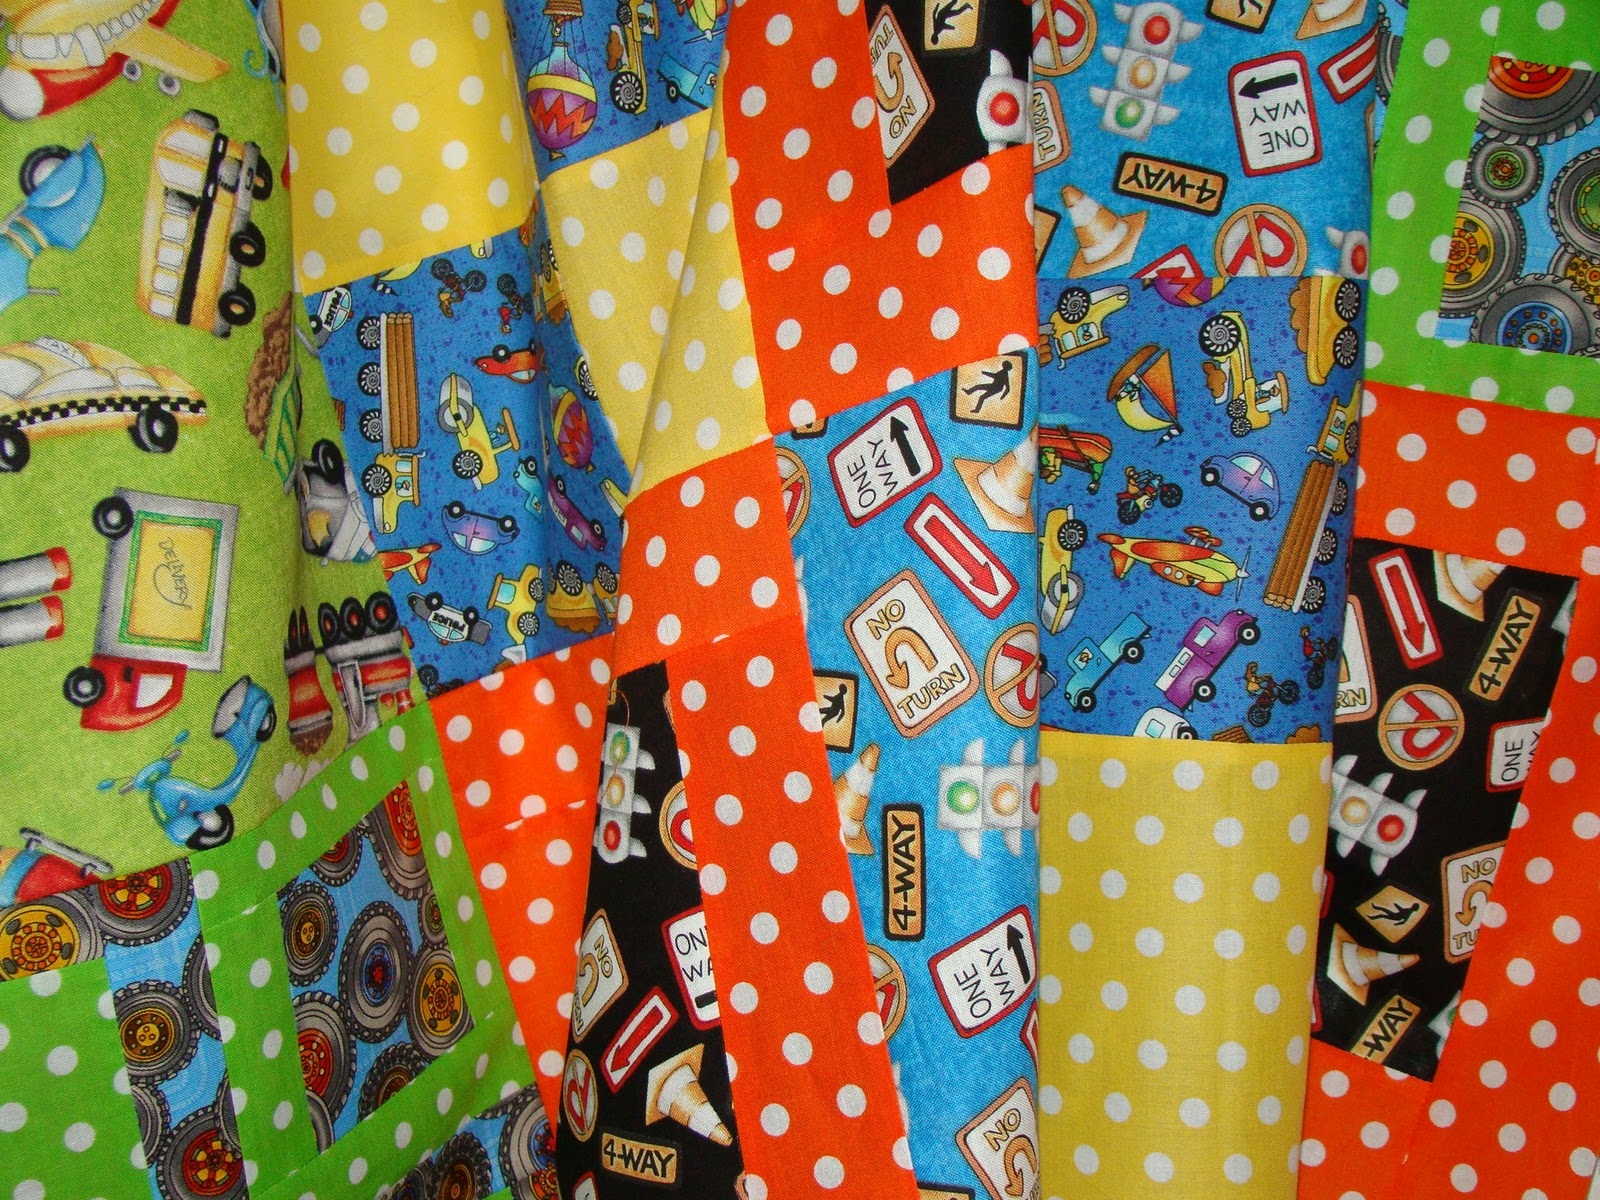
I wanted to make a quilt for my coworker and friend's son who is almost 2 as a Christmas gift.  He loves cars and anything with wheels, so I found this mish mosh of car and truck fabric and paired it with some fun bright polka dots.   


The timing of working on this quilt really worked out because I was able to follow my own instructions and double check my measurements and cutting instructions for the pattern, sooo I'm pretty confident everything's accurate!


I'll be posting my pattern/tutorial for this quilt in the next few days, stay tuned!


I was feeling super productive this evening, so not only did I get the quilt top pieced together, the quilt back cut and pieced together, but I was on such a roll I decided to run out and buy the batting I had planned to purchase tommorow, and basted my quilt sandwhich all this evening.  Whew!  I'm tired just writing all that.


I must say, I'm a pin basting convert.  I will never spray baste again!  This is the second quilt I have pin basted, and I find it to be so much more secure, with moving the quilt around so much, there is no worry about pulling or bunching on the back.  It takes a little extra time, but totally worth it, in my opinion.

I have plans to get this quilted this weekend, and have also decided I want to whip together some fabric napkins, for my Thanksgiving dinner for 20 I am hosting on Thursday!  I'm tired just thinking of my to do list before Thursday....