Thursday, May 22, 2014

baby Leon's baby quilt

DSC_0851edit

A friend of mine asked if I would make a baby quilt for a friend of hers who was expecting a little boy.  I've been quite picky with commissioned projects, as I'm pretty limited in sewing time these days, and only want to spend it working on projects I really love.  This friend is always pretty open to whatever design I pick and lets me do most of the choosing, so I rarely have an issue making quilts as gifts for her!

Her only request was that I take a look through the mommy-to-be's baby registry to make something that went with the colors in the nursery.  I do this anyways, so it certainly wasn't a problem.  When I peeked at her registry, everything was brown and cream and void of just about any color, let alone the bright saturated colors I tend to gravitate towards.  Hmm.  This certainly made me pause, as brown and cream are not colors I use often or have much of in my stash.
DSC_0853

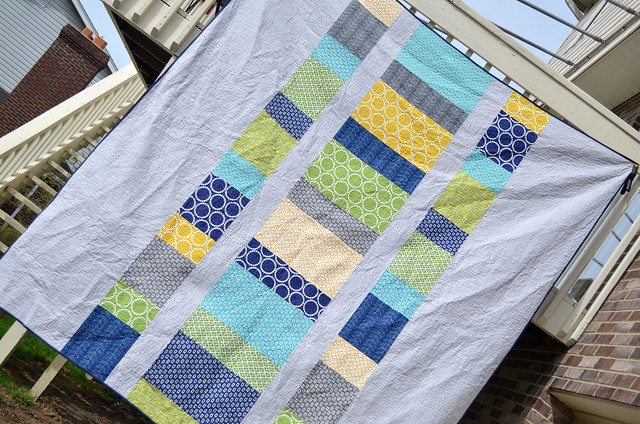
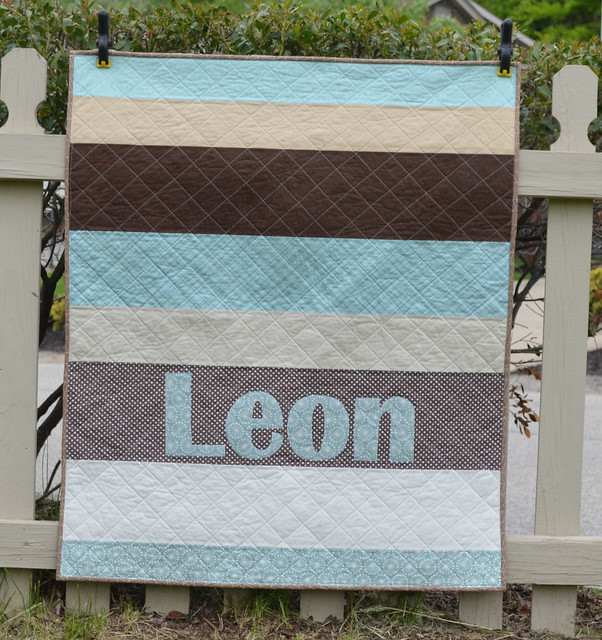
After getting a sense of this mama-to-be's style, she seems to like things very classic, clean, simple and neutral.  I took a few days to think the quilt top over, both design and color wise, and decided to just head to Joann's and see what I came up with.  I picked out a few brown prints and a 3 Kona shades of cream, and ultimately decided to add in a few prints in a dusty baby blue, as I couldn't bear to make a quilt that consisted of only brown and cream.  After much debate, I went with my gut and pieced together a simple strip quilt consisting of strips of various widths.

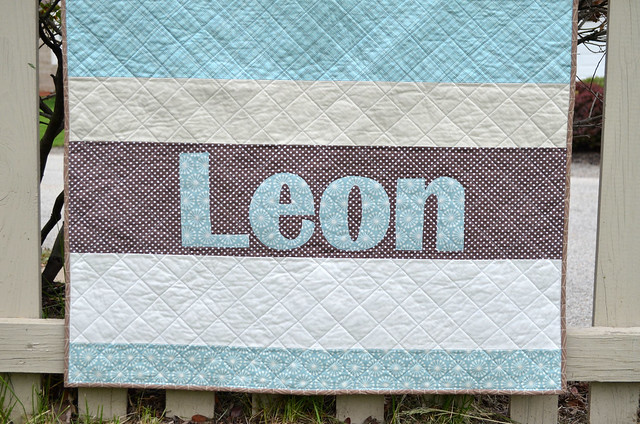
  Even though this strip quilt fits the "classic, clean, simple and neutral" bill, after piecing the top I thought it was just too plain and needed "something".  Mom ended up going into labor and delivering the baby just as I was basting the quilt, so we were able to find out the brand new baby's name.  I applique'd baby Leon's name to his quilt and think it adds just the "something else" this rather straight forward strip quilt needed.
DSC_0855

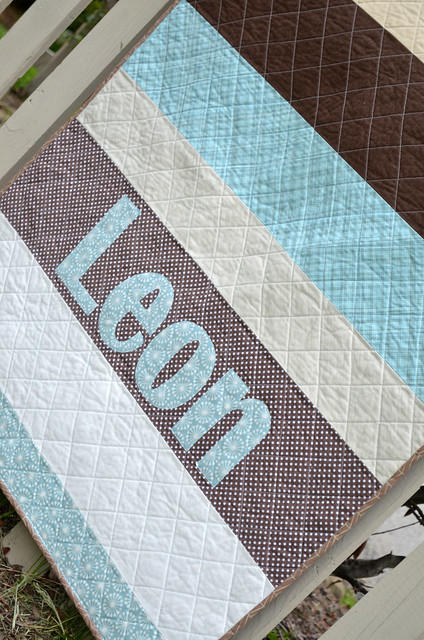
As for the applique, I found a font I liked and typed out baby Leon's name in an absurdly large size in Word, and printed out each letter, then used light weight fusible web to adhere the text to the quilt.  I just used a straight stitch about 1/8" in from the letter edge, and applied fray check to the raw edges to prevent as much fraying as possible when washing.  I can happily report after the first washing, there was little to no fraying, so the applique should hold up to all the love and washings a baby quilt is bound to receive.
DSC_0856

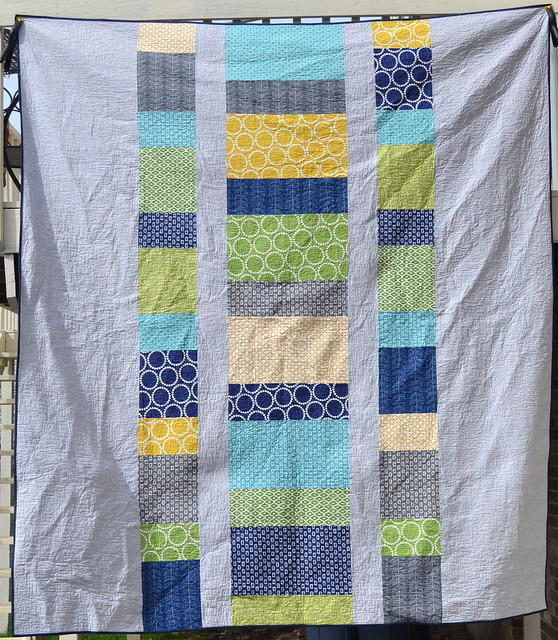
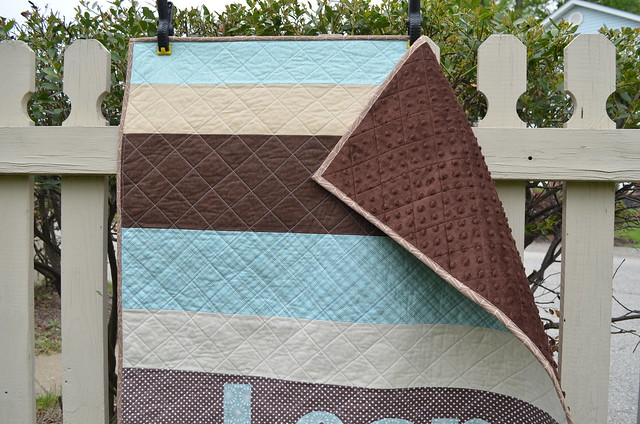
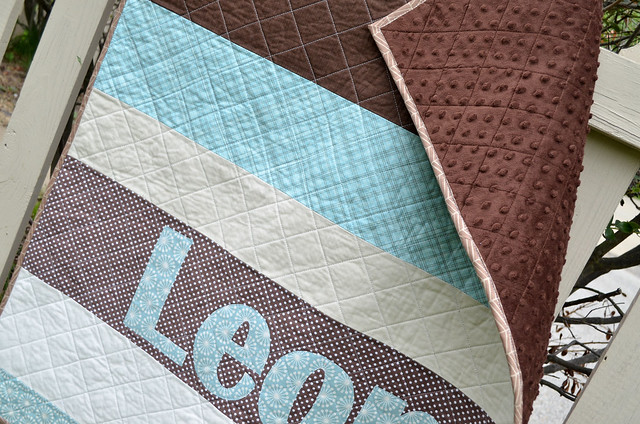
I backed this quilt in a brown Minky dot I picked up at Joann's and I must say I think I'm a Minky convert. I don't know that I will ever back a baby quilt in anything other than Minky from this point forward.  I was a little scared off when I used a "furry" minky on the back on Nora's Raspberry Orange Chevron quilt, I had a really hard time quilting it, which I attributed to just using Minky, but I think it was more because the nap was so thick, not that it was Minky in general, as I had little to no problems quilting this quilt.
DSC_0857

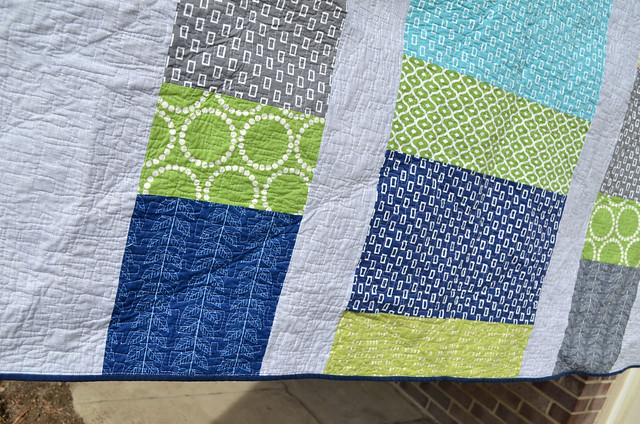
As for the quilting, I stuck with my "classic, clean, simple and neutral" mantra and straight line quilted at about a 45 degree angle about 1 1/2" apart from one another.  I have to say even though this quilt is a beyond simple design, it really is one of my favorites.

We have a few close friends that are having babies, and I'm thinking they all need a quilt like this for their little ones.   Because it comes together so quickly, its an easy one to make once the baby is born and the name is known!  I'm even thinking of making of few of these without batting so it feels more just like a blanket, but is extra cuddly with the Minky.  Maybe I'll give it a try and make Nora one.  Because she definitely needs another quilt/blanket ;-)


Tuesday, May 13, 2014

a geranium or two

Ever since Nora was born, I have wanted to dip my feet back into clothing sewing and make a few dresses for her, but always hesitated and just worked on another baby quilt instead, you know, something a little more in my comfort zone.  My dear bloggy friend Ann is not only an amazing quilter, but sews oodles of dresses and clothes for her little girl, and sent me a great list of starter patterns and tutorials, and gave me just the necessary nudge to pick a pattern and just dive right in.  

DSC_0776edit

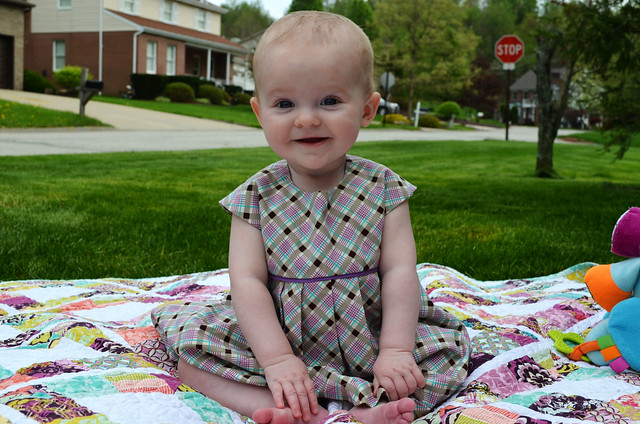
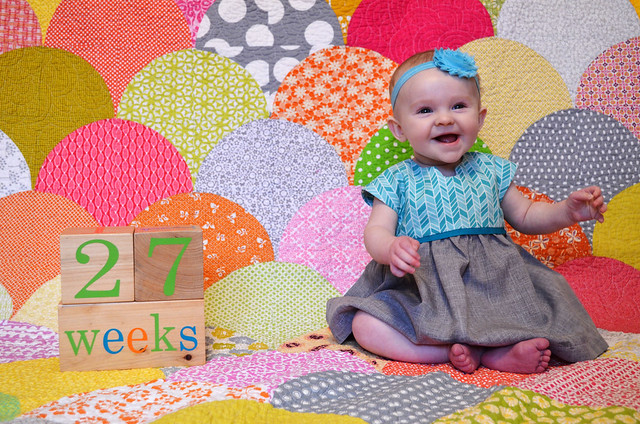
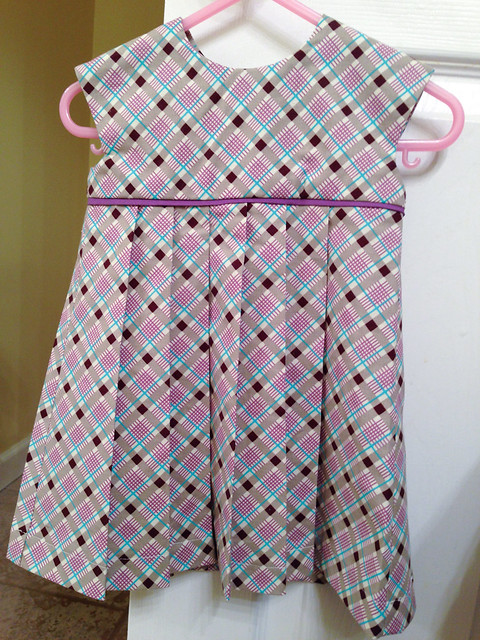
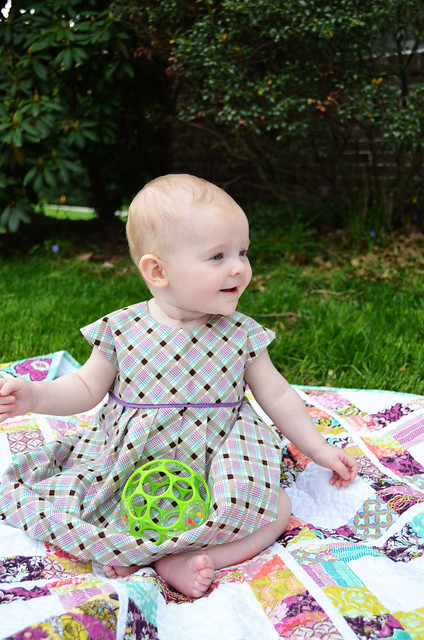
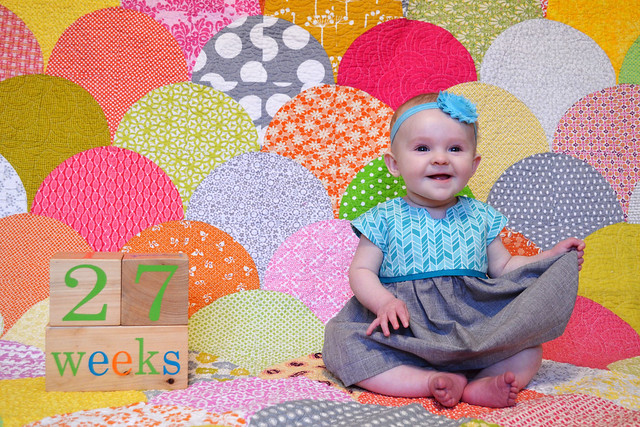
I decided I get my baby clothing toes wet with the Geranium dress by Made by Rae and could not be more pleased with how it came together!  I actually stitched up two Geranium dresses, one with a basic neckline and a pleated skirt, and one with a notched neckline and gathered skirt.  I also added piping where to bodice and skirt meet using this tutorial, and am equally smitten with how both dresses turned out.  I'd have to say by that smile, Nora's pretty happy with her handmade dresses too!

DSC_0749edit


image

For the first dress I used a print from the Croquet line by DS Quilts at Joanns.  From the moment I saw this purple plaid print, I knew I wanted to make some sort of clothing out of it for Nora, and the Geranium pattern was just the ticket!  I made the 6-12 month size, and while it fits to wear now, there is definitely room to grow, so it will get lots of wear this summer.  The pattern came together incredibly easy,  I think it took me just as long to trace and cut out the pattern pieces as it did to sew the dress together.  Very doable in one sewing session after Nora went to sleep.  I even got to try out the automatic button hole maker on my sewing machine for the first time!  Success!!

DSC_0790edit

I also made a matching diaper cover using this tutorial by Made and it is sort of the cutest little thing.  I'm a little bummed I forgot to snap a picture of it!

DSC_0746edit

For the second dress, I used an aqua Cloud 9 print also found at Joann's and paired it with a grey polyester blend suiting material I happened across while waiting at the cutting counter.  I love this version with ruched skirt and different print bodice and skirt, and with the skirt fabric being a polyester blend, it will definitely help keep wrinkles to a minimum!  While I love the purple plaid version, I'm not a fan of ironing my own clothes, let alone clothes for my 6 month old.  I definitely see more Geranium dresses in wrinkle resistant fabrics in Nora's future!!

I'm definitely planning much more baby clothes sewing, every thing is so itty-bitty, it certainly takes the intimidation factor away!  I'd love to hear your favorite baby/kids clothes sewing patterns and tutorials, what should I make next??


Friday, May 2, 2014

large and in charge man quilt

DSC_0627edit

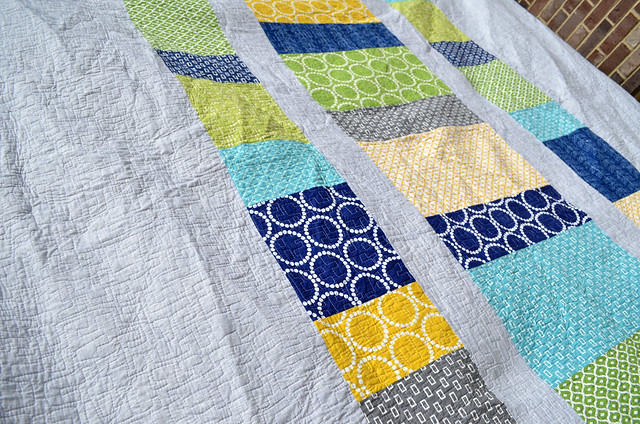
I have finally finished up the largest quilt myself and Bertha (my machine) have ever quilted, and my arms have lived to tell the tale!  Prior to this quilt, my Swoon quilt had taken the cake as the largest quilt I'd worked on (measuring 90" square), however the Man Quilt has topped the list, weighing in at a hefty 90" x 102".  

I think Bertha was dying for the attention, because she quilted like a champ.  No skipped stitches, no tension issues and no broken needles.  I think she was afraid I'd leave her neglected for another month if she gave me any issues!  Whatever the reason, quilting this behemoth went incredibly smoothly, and gave my shoulders and upper back a workout in the meantime.  

DSC_0628edit

Having completed this generous queen size quilt, I'm actually toying with the idea of tackling a king size quilt for our own bed.  Now that we have broken the dogs (for the most part) of calling our bed their bed, I can rest easy knowing that it wouldn't be destroyed by the fur children.  I can't quite picture what sort of pattern I'd like, I'm thinking something geometric, chevrons of some sort perhaps?  Anyways, I digress, back to the quilt at hand.

DSC_0630edit

I mentioned in my post about the quilt top that I had tried a new method of basting, and I'd report back once I saw how things turned out.  I gave table basting a try and have to say I'm pretty impressed with the results.  I'm a hard core basting-on-the-floor gal and have always preferred basting spray to pins, so this idea of basting on a table, and with pins took me way outside of my comfort zone.  I had read multiple positive reviews on this method so I decided to give it a shot.  The main appeal for me, was knowing that I likely wouldn't be able to baste this giant all in one session, and I really don't have the space in my house to leave a quilt this large just laying around for days on end without it getting trampled on, and the dogs making it their new personal queen size pet bed.

I completely forgot to snap pictures as I went with this method, but I basically used a mash up of these two tutorials found here and here.  I  set up my quilt layers like the second post described and held them taut using clamps, as I couldn't fit the entire quilt top on my table all at once.  Once all three layers (backing, batting and quilt top) were nice and smooth and secured to the table with the clamps, I went to town pin basting, like the first post describes. Once I had pin basted the area that was smooth on the table top, I unclamped the quilt layers, and shifted the entire quilt to repeat the process with an unbasted section. I repeated this until the entire quilt was basted.

DSC_0631edit

I can happily report that this method was a success!  I had zero puckers on the quilt back and was able to spend 10 minutes here and there working on basting the quilt when I had a few spare moments, AND I didn't have to spend hours on my hands and knees basting a quilt this size.  

I still would have to say I prefer my spray basting method, and will use that method whenever I can, but for a larger quilt that I can't/don't want to baste all in one session, this table basting method will be my go to.  I will say the main downside was spending all that extra time removing the pins, although this is just a downside (in my opinion) to pin basting itself, whether on floor or on a table.

Untitled

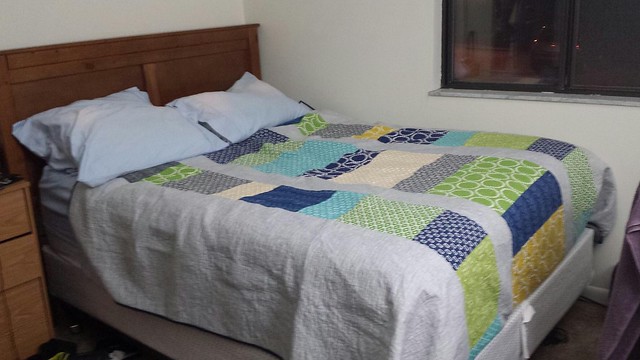
I gifted this quilt to my brother on Easter, and am happy to report that he loves it!  The above picture is one he snapped on his phone of the quilt already living on his bed.  I'm glad to have this quilt finished and off to its new home.  I'm in the middle of stitching together a sweet and simply strip quilt for a baby boy, and am envisioning the quilting to feel like a walk in the park in comparison to this big guy!