Tuesday, September 23, 2014

friends + birthdays

DSC_0124

This past weekend I had the pleasure of not only seeing one of my dearest friends who happens to live out of town, but seeing her on her birthday!  As I've gotten older, a lot of the "fringe friends" have fallen by the wayside, but the friends that I still keep in touch with are friends that will be around for the long haul.  Unfortunately many of them now live out of town, so its a rare treat to get to see each other more than once or twice a year!

DSC_0120

I was excited beyond believe when I received a call that one of my friends (well call her K) and her family would be traveling through Pittsburgh on their way to a wedding and wanted to get together for lunch!  I of course blurted out "yes yes yes" and did a small happy dance.  When I looked at at the calendar, and realized it would also be her birthday, I decided a little birthday sewing was in order.  

DSC_0116

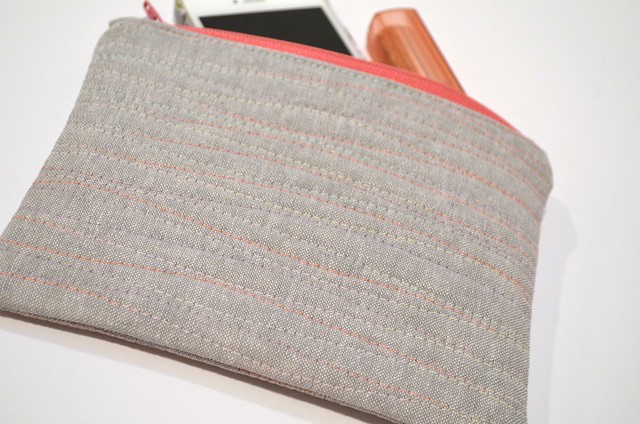
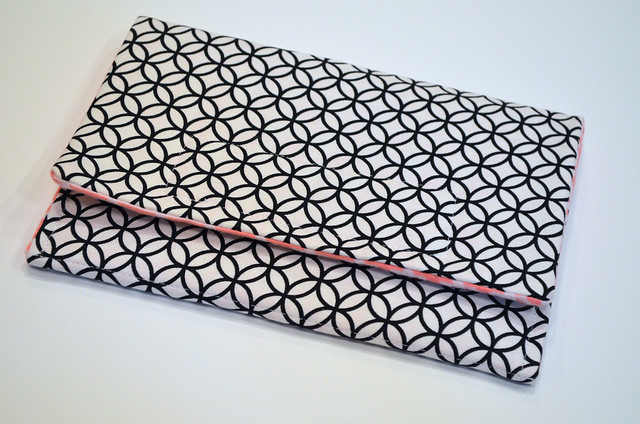
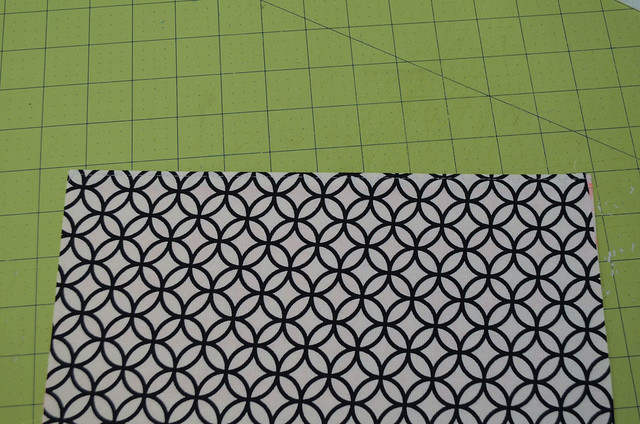
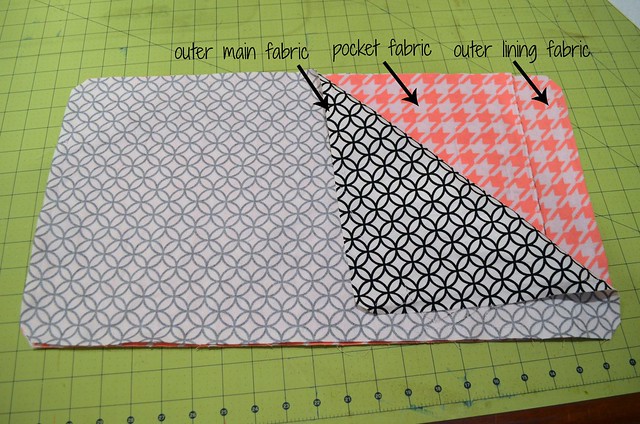
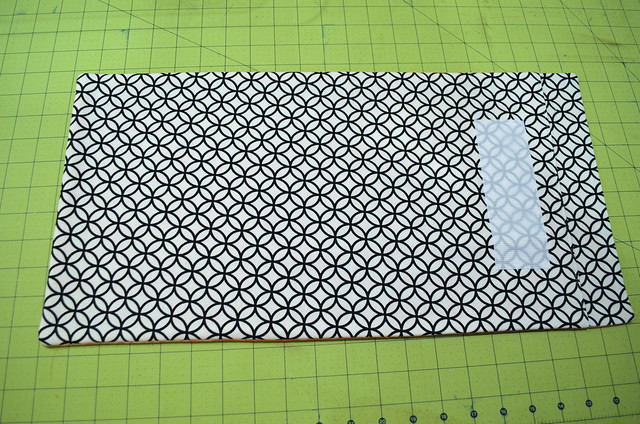
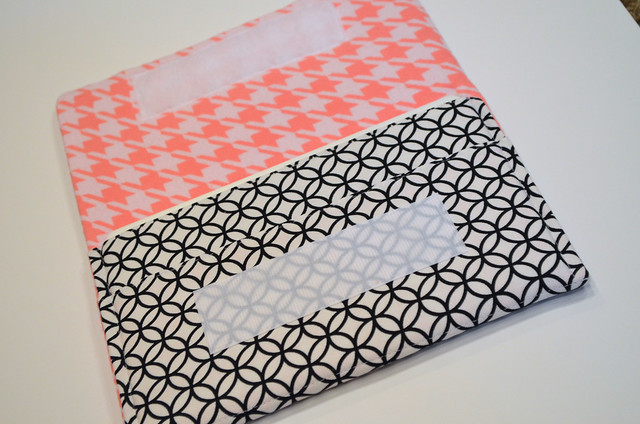
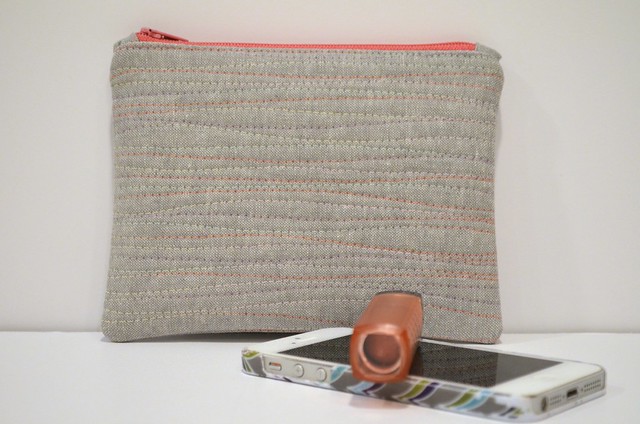
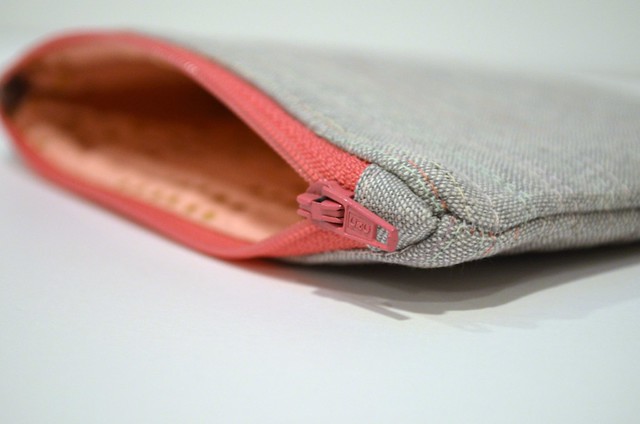
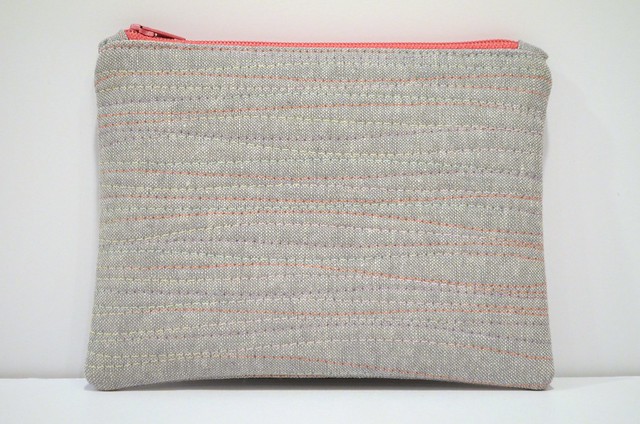
We typically aren't ones to exchange gifts, being out of town and all, so something quick and little was just the ticket (and good thing, too, as Nora decided naps were for the birds that day), so I grabbed some EssexYarn dyed linen in steel and my favorite variegated thread and got to stitching.

DSC_0119

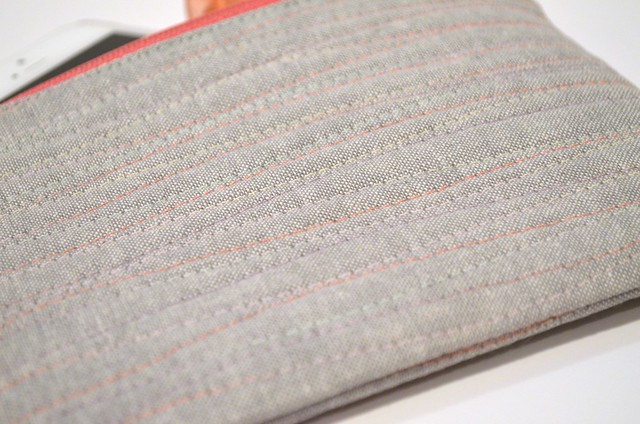
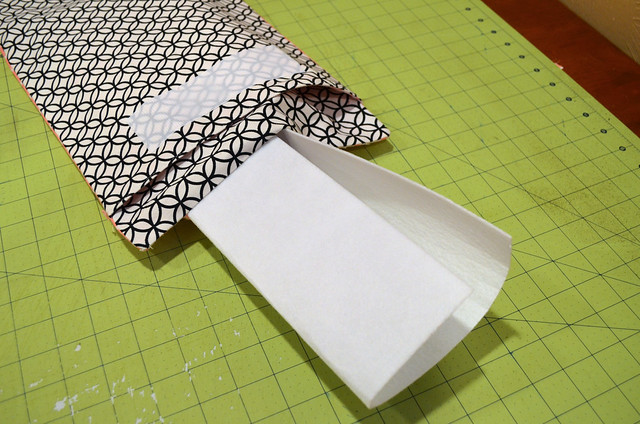
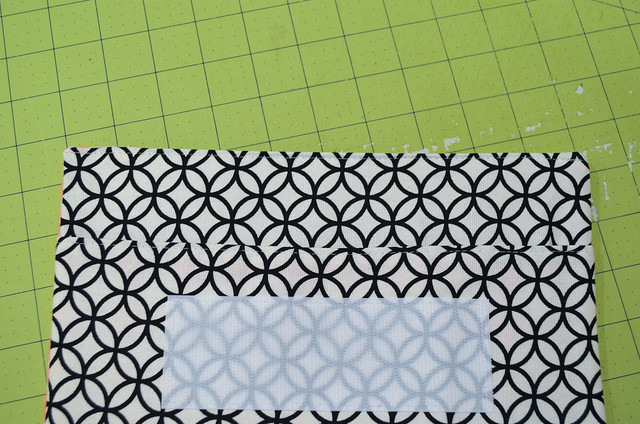
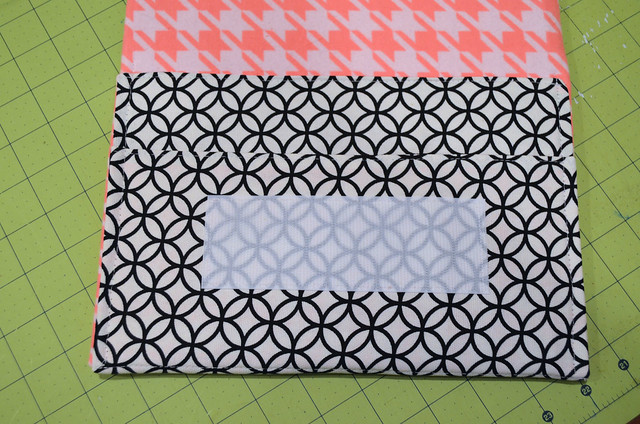
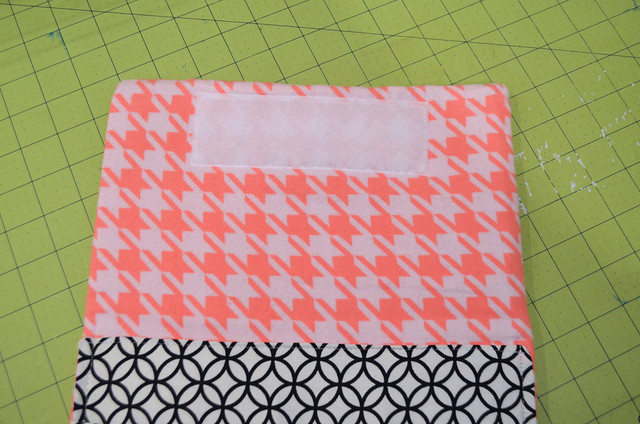
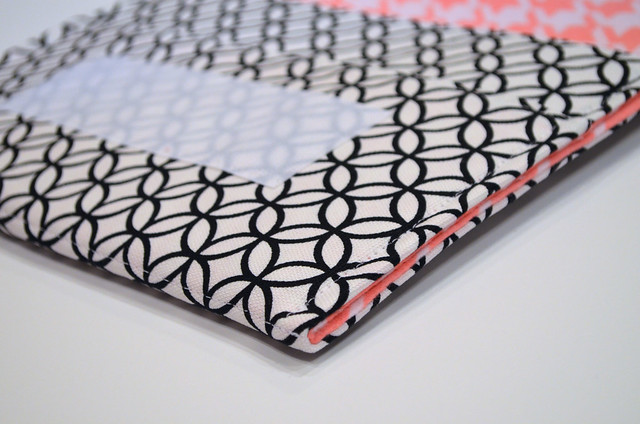
I quilted the linen like I quilted my Sew Together Bag, as I have been dying to stitch these organic wavy lines in that pretty thread again.  It of course did not disappoint, and I am thinking I now need a little pouch like this for myself too!

DSC_0114

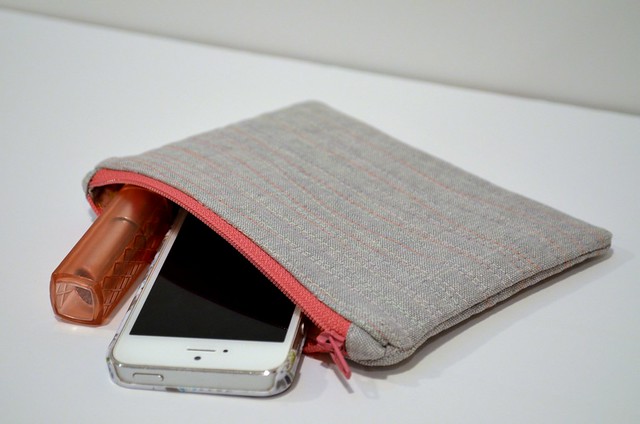
This pouch measures about 6.5" x 5", I had planned for it to be a little smaller, but I'm actually glad it turned out a little larger, as its just perfect to store a cell phone, keys and a lip gloss, you know necessities just for mommy.

DSC_0115

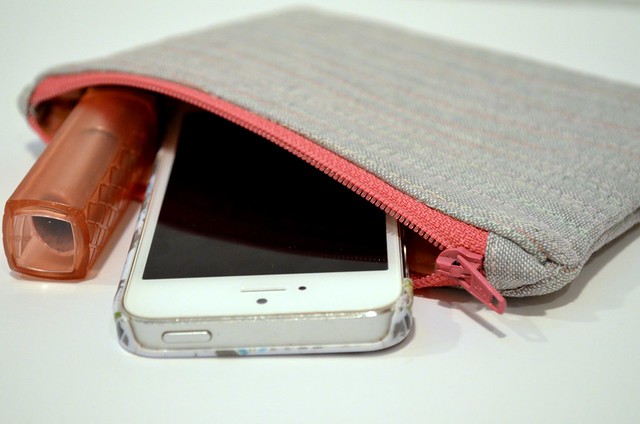
K is a mom to 2 little boys (and a baby on the way), so I hope she likes this little pouch that she can slide right in the diaper bag, to have a little corner of that bag all to herself!

DSC_0123

It's always great to see and catch up with a friend, and it was incredibly precious to now watch our littles playing together!  

Thursday, September 18, 2014

Woodwinked baby quilt top

DSC_0104

I'm still on my baby sewing kick, and figured it was high time to get a quilt top put together!  This is for my husband's sister and her baby boy.  I was talking to SIL and asking about nursery colors/themes and she's not a super "theme-y" person, and told me they weren't planning on doing a whole lot with the nursery.  She wasn't giving me much to go on, so after much prodding for any details to give me some direction, she said she liked "woodland creatures."  I almost started laughing, as what were the chances that the previous week and had I just ordered a half yard bundle of Woodwinked from Cindy at Rose Room Quilts!  

DSC_0107

I've had a triangle quilt on my quilty bucket list for some time now, and though this would be the perfect layout for these fabrics.  I ended up throwing in a few fudge dots from It's a Hoot and yellow pearl bracelets, and those were the perfect additions to help balance the colors.    

DSC_0105

I didn't use any sort of special triangle ruler or template, and just used my long 6" x 24" quilting ruler that had a 60 degree marking on it to cut my triangles.  The cutting went incredibly quickly by stacking 4 or so prints on top of one another.  I cut my triangles to measure 5.5" high, so they finish at 5".  Just the perfect size to show off those adorable owls, mushrooms and leaf prints.

DSC_0103

I love that this quilt definitely reads "boy" but there isn't one blue fabric in the mix!  I'm digging the cooler fall temperatures right now also, and these fabrics made me want a pumpkin spice latte, like now.

DSC_0109

I'm thinking of backing this with some grey minky for a super soft and cuddly feel.  Basting in on the agenda for the weekend, and hopefully will have a finished quilt to show soon!

Tuesday, September 16, 2014

Dragonfly Fabrics Giveaway Winner

sewcraftyjess

A few days overdue, but I owe you a winner!  The winner of the $25 gift certificate to DragonFly Fabrics is entry #54, Leslie!  Congrats Leslie!  Look for an email from me later today to get your shipping information.  Thanks everyone for entering, and thanks DragonFly Fabrics for a great giveaway!

Friday, September 12, 2014

Curtains to the rescue

Looking for the Dragonfly Fabrics giveaway?  Click here!
This giveaway is now closed.

********************************************

DSCF1251

I have mentioned a few times that I have not one, but two sister in laws who are pregnant, and are due about a month apart from one another!  Now that we know we are expecting two new nephews, it is time to get sewing some baby goodness!

My brother is a volunteer fire fighter, so when him and his wife found out they were having a boy, it came as no surprise that they wanted to decorate the nursery with a fire truck theme!  My sister in law had asked if I could make her blackout curtains like Nora's, and while I had a quick internal shudder, as those babies were a PITA, I of course said yes and figured it would go a little smoother the second time around!  But then I remember that they had not one, but TWO sets of windows in the nursery.  Yikes.  Luckily after talking it over with SIL, she told me she only wanted half length curtains, to which my crafty insides did a celebratory happy jig!

DSCF1249

I typically am not a huge fan of novelty fabric, so when I set out on the mission to find firefighter themed fabric I was bracing for the worst.  I stumbled upon this Robert Kaufman Ruff n' Tuff fabric and thought it was perfect!  SIL agreed and yards and yards and yards were purchased (which was a good thing, because I'm having a hard time finding some to link!)

DSCF1252

I wanted to try doing back tabs on these panels so I followed along with this tutorial  and just altered my finished length to 60" instead of the full length in the tutorial.  Likely due to the combination of making curtains once before and the shorter length, but these came together so incredibly smoothly, and fairly quickly!  I'd put these at a 5 nap sew.  So basically over the course of 3 days with an hour or two here and there, not bad for 4 curtain panels!

DSCF1257

The back tabs turned out great, and a bonus that I didn't need to purchase anything extra like grommets to hang the panels.

DSCF1255

Mario the cat wanted to checkout what was going on in the nursery, he give them two thumbs up.  He said he was equally impressed that all four curtain panels were the same exact length.  Me too my four legged friend, me too.  That's always my worst fear, is that one panel will end up longer or shorter than the rest, but have no fear, these were spot on!

DSCF1256

As I knew they would, these do a great job and keeping the light out.  Don't let this picture fool you, there was a ton of light coming in from the door way.  Like I used for Nora's curtain's I used this Ron-Loc black out fabric on the backside of the curtains, and it really is a winner.  I picked up some at Joann's and used a 40% off coupon.  I can't wait to see their nursery come together, I of course have a few more projects in mind, including a crib skirt, the best burp cloths in the entire world (will share the details soon) and a few Divided Baskets, and of course a quilt or two for each new addition, so the blog will be in baby overload mode for the next few weeks!  

Tuesday, September 9, 2014

Welcome Dragonfly Fabrics and a Giveaway!

****This giveaway is now closed****

**********************************************

sewcraftyjess

I'm happy to introduce SewCraftyJess' newest sponsor, Dragonfly Fabrics!  I'm very excited to be working with Amy, the lady behind Dragonfly Fabrics, to bring you not only another great place to shop, but a $25 gift certificate (see below for entry details) as a warm welcome, AND Dragonfly Fabrics is generously offering a 15% discount on all orders for SewCraftyJess readers with coupon code crafty15 now through 12:00 AM, Saturday, September 13, 2014!

Lets do a little window shopping shall we?  Dragonfly fabrics has a beautiful selection of fabrics including modern quilting cottons, one of my favorites is this Modern Lace bundle, so delicate and feminine!  I've been thinking our bed needs a little quilty love, and these fabrics would be just perfect.

Modern Lace Fat Quarter Bundle

One of my absolute favorite features Dragonfly Fabrics offers is custom matched solids to many of the collections and bundles offered at Dragonfly Fabrics.  She has a selection of 8 solids that coordinate perfectly with the Modern Lace line!

12.jpg

Hows that for customized shopping!  You can find solids that match perfectly with any line you are looking at simply by clicking on the coordinating solids link located at the top of the page when in a particular collection.

Dragonfly Fabrics also carries a selection of organic fabrics, including Monaluna, Cloud 9 and Birch Fabrics (which are currently 10% off with coupon code!).  I have my eye on a quite a few of these prints, but I'm adding these Cloud 9 cheater prints to my shopping cart right now, as they would be great to have on hand for a super quick baby quilt!

Spring Scrapbook in Robins Egg

Spring Scrapbook in Petal Pink

Dragonfly Fabrics also carries fat quarter bundles by color!  These are great if you are looking to build your stash, or finding a particular color in your personal fabric selection a little lacking.  Grey is my go to neutral in most of my quilting, so this bundle of greys would be a welcome addition to my stash!

Stone

I could go on and on and buy just about every fabric that Dragonfly Fabrics stocks, but how about you take a turn and get in on the fabric shopping action!  Head over to Dragonfly Fabrics and see what catches your eye.  To enter the rafflecopter giveaway, simply comment in the giveaway below with what you would spend your giveaway winnings on, and don't forget to take advantage of the 15% discount with code crafty15 available now through Friday, September 12,2014.

Giveaway details:  To enter to win, head over to Dragonfly Fabrics and tell me what you would use the gift certificate to purchase in the comments section.  For an extra chance to win, share this giveaway on your favorite form of social media (Facebook, Twitter, Instagram).  Be sure to log in to RaffleCopter below.  This giveaway will be open until Friday, September 13, 2014 at 12:00 AM EST.

a Rafflecopter giveaway

Tuesday, September 2, 2014

Tutorial: iPad Sleeve

Hi all!  I hope everyone had a relaxing labor day weekend.  We spent Saturday enjoying my parents pool for what was likely the last time this year.  Nora is most definitely a water baby, the girl loves to splash and play, and would spend hours in the bathtub/pool if we let her!  Hopefully she remembers her love of the water next summer also.

DSC_0073

Anyways, as promised, I'm back with a tutorial for my iPad sleeve I shared a few weeks ago.  This is seriously the quickest and easiest sew I've made in a while.  It is definitely a "1 nap" sew (because nowadays that's how I measure time), and that's with taking time to take pictures for the tutorial included!  Without further ado, here she is!

DSC_0070edit

iPad Sleeve Tutorial
(designed to fit the iPad Air, or any tablet measuring approximately 10" x 7", and appx 1/2" thin)
downloadable PDF version of this tutorial available here

You will need:

(1) 11.75" x 21" home decor weight fabric* (outer fabric)
(1) 11.75" x 19" home decor weight fabric* (outer fabric)
(1) 11.75" x 21" flannel or quilting weight cotton (lining)
(1) appx 11 x 20.5" Stiff sew in interfacing
2" x 6" sew in velcro

* I chose to use home decor weight fabric and did not use any sort of fusible interfacing.  If choosing quilting weight cotton, I would recommend using a lightweight fusible interfacing to the wrong side of your outer fabrics.

Tip:  Use a heavy duty denim or jeans needle, as you will be sewing together multiple thick layers.  It also may be advisable to use your walking foot if you have one.  

Use a 1/4" seam allowance, unless otherwise noted.

1.  Sew pocket outer fabric and lining fabric right sides together (RST) along (1) 11.75" edge.  Press towards lining and topstitch.

DSC_0047

2.  Sew 2" x 6" "sticky" side of velcro 1" down from finished edge of pocket, centered on outer fabric.

DSC_0048

3.  Layer: Outer lining fabric-right side facing up, pocket with outer fabric and velcro facing down, and outer main fabric right side down.  Sew along all 4 edges leaving appx. 6" gap for turning along the short edge with only the outer and lining fabric.

DSC_0049edit

4.  Turn right sides out through opening left in step 3, keeping the pocket towards the main outer fabric.  Press.

 DSC_0050

5.  Measure size of pressed exterior fabric when flat.  Cut piece of stiff interfacing appx 1/4" - 1/2" smaller than dimensions measured.  Insert through opening left in step 3.  Center and align so interfacing lies flat between outer fabric and lining fabric.  

DSC_0051

6.  Top stitch short edge with opening closed, catching the interfacing while stitching.

DSC_0060

7.  Top stitch 6.5" down from edge with pocket and velcro.  The stitch line should be appx. 1.5"-1.75" below velcro.

DSC_0061edit

8.  Fold lining sides together along stitch line from step 8.  Sew with a generous 1/4" seam allowance along each side edge to form an envelope.

DSC_0062

9.  Sew other half of velcro along top flap of envelope centered appx. 1/2" from top edge.

DSC_0063

10.  Stand back and admire your new iPad sleeve!  (And smile at how quickly it came together!)

DSC_0068

DSC_0071

Don't forget, you can get the downloadable PDF version of this tutorial here!

If you make an iPad sleeve, I would love to see it!  Be  sure to add it to the SewCraftyJess Flickr group