
Hi all! I hope everyone had a relaxing labor day weekend. We spent Saturday enjoying my parents pool for what was likely the last time this year. Nora is most definitely a water baby, the girl loves to splash and play, and would spend hours in the bathtub/pool if we let her! Hopefully she remembers her love of the water next summer also.
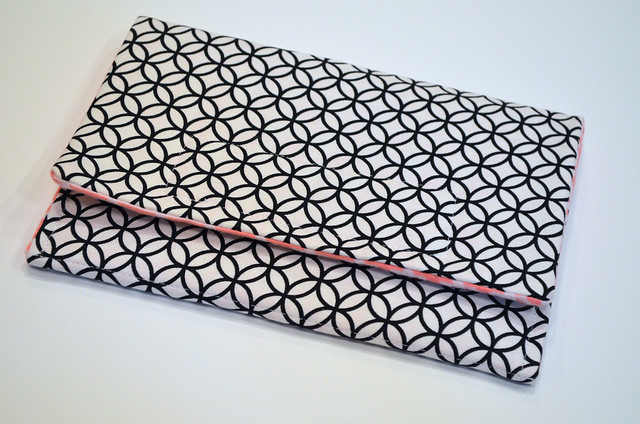
Anyways, as promised, I'm back with a tutorial for my iPad sleeve I shared a few weeks ago. This is seriously the quickest and easiest sew I've made in a while. It is definitely a "1 nap" sew (because nowadays that's how I measure time), and that's with taking time to take pictures for the tutorial included! Without further ado, here she is!
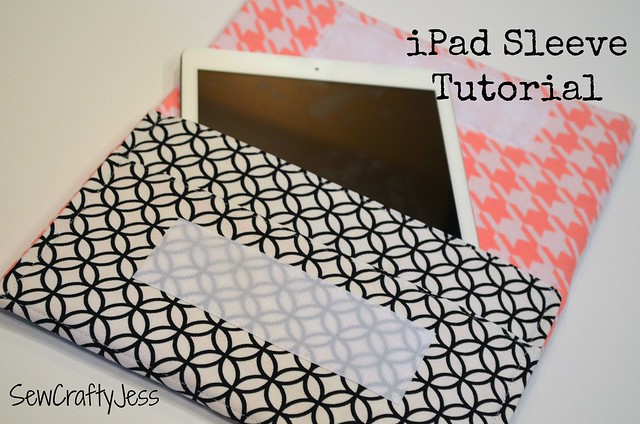
iPad Sleeve Tutorial
(designed to fit the iPad Air, or any tablet measuring approximately 10" x 7", and appx 1/2" thin)
downloadable PDF version of this tutorial available here
(designed to fit the iPad Air, or any tablet measuring approximately 10" x 7", and appx 1/2" thin)
downloadable PDF version of this tutorial available here
You will need:
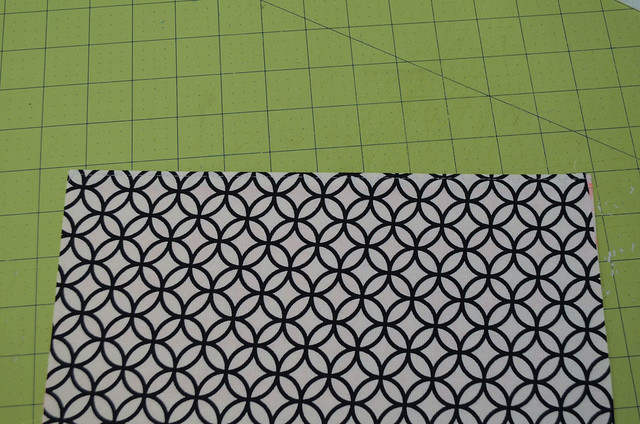
(1) 11.75" x 21" home decor weight fabric* (outer fabric)
(1) 11.75" x 19" home decor weight fabric* (outer fabric)
(1) 11.75" x 21" flannel or quilting weight cotton (lining)
(1) 11.75" x 21" flannel or quilting weight cotton (lining)
(1) appx 11 x 20.5" Stiff sew in interfacing
2" x 6" sew in velcro
* I chose to use home decor weight fabric and did not use any sort of fusible interfacing. If choosing quilting weight cotton, I would recommend using a lightweight fusible interfacing to the wrong side of your outer fabrics.
Tip: Use a heavy duty denim or jeans needle, as you will be sewing together multiple thick layers. It also may be advisable to use your walking foot if you have one.
Tip: Use a heavy duty denim or jeans needle, as you will be sewing together multiple thick layers. It also may be advisable to use your walking foot if you have one.
Use a 1/4" seam allowance, unless otherwise noted.
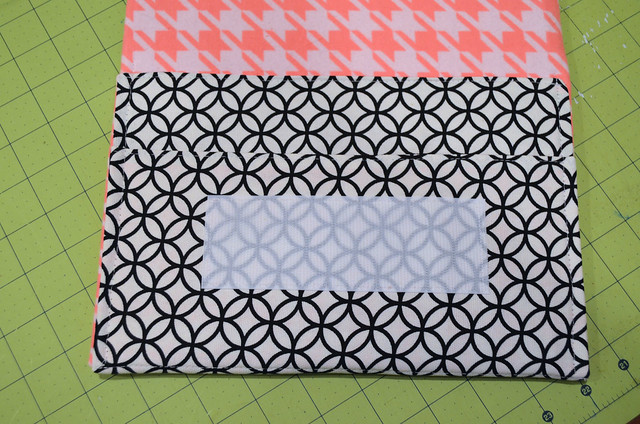
1. Sew pocket outer fabric and lining fabric right sides together (RST) along (1) 11.75" edge. Press towards lining and topstitch.
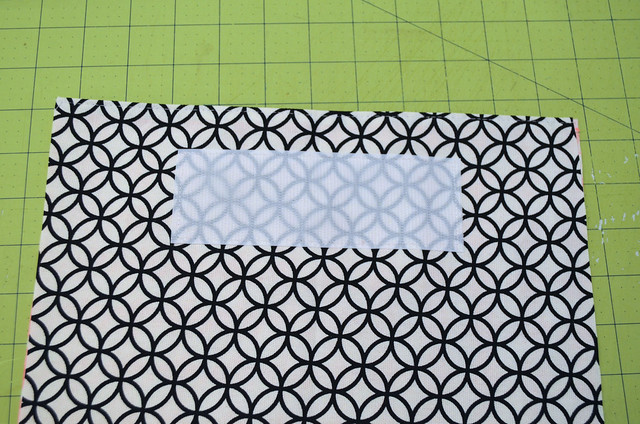
2. Sew 2" x 6" "sticky" side of velcro 1" down from finished edge of pocket, centered on outer fabric.
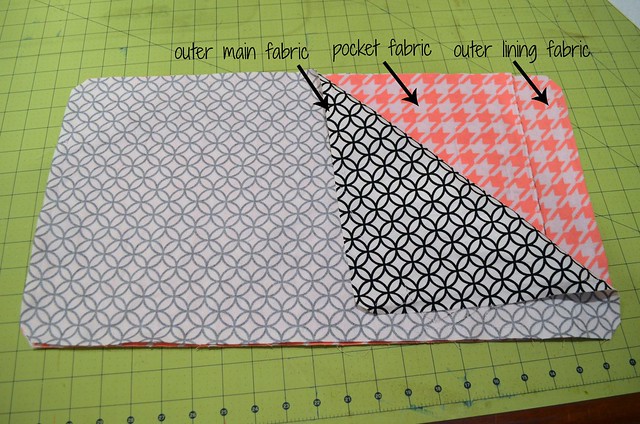
3. Layer: Outer lining fabric-right side facing up, pocket with outer fabric and velcro facing down, and outer main fabric right side down. Sew along all 4 edges leaving appx. 6" gap for turning along the short edge with only the outer and lining fabric.
4. Turn right sides out through opening left in step 3, keeping the pocket towards the main outer fabric. Press.
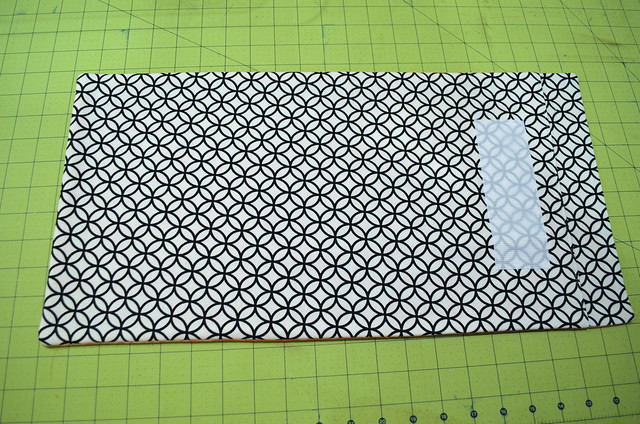
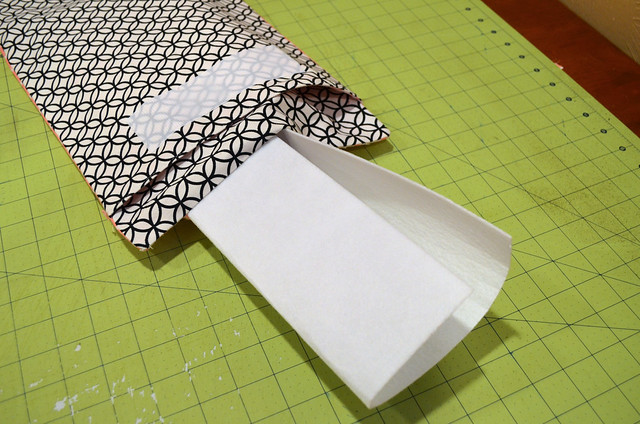
5. Measure size of pressed exterior fabric when flat. Cut piece of stiff interfacing appx 1/4" - 1/2" smaller than dimensions measured. Insert through opening left in step 3. Center and align so interfacing lies flat between outer fabric and lining fabric.
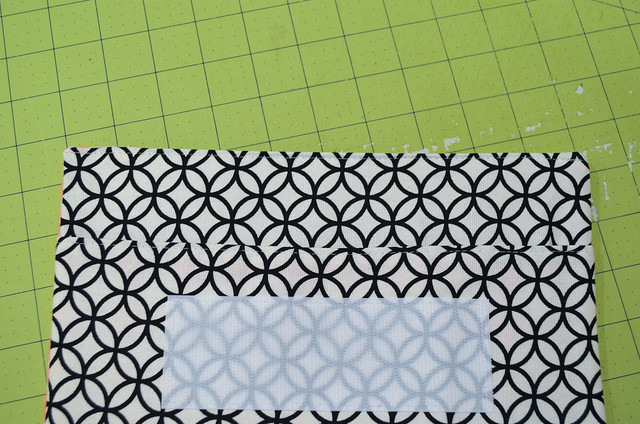
6. Top stitch short edge with opening closed, catching the interfacing while stitching.
7. Top stitch 6.5" down from edge with pocket and velcro. The stitch line should be appx. 1.5"-1.75" below velcro.

8. Fold lining sides together along stitch line from step 8. Sew with a generous 1/4" seam allowance along each side edge to form an envelope.
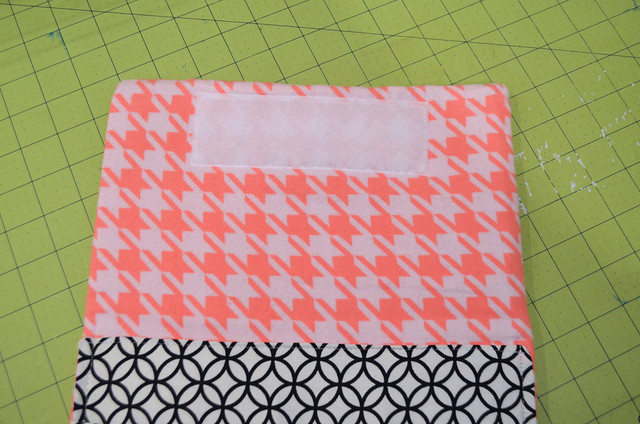
9. Sew other half of velcro along top flap of envelope centered appx. 1/2" from top edge.
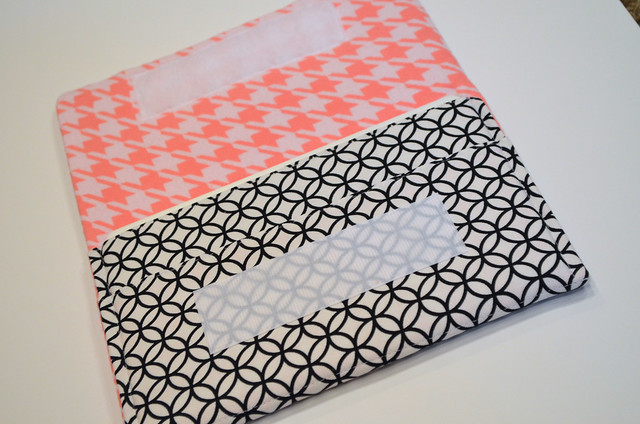
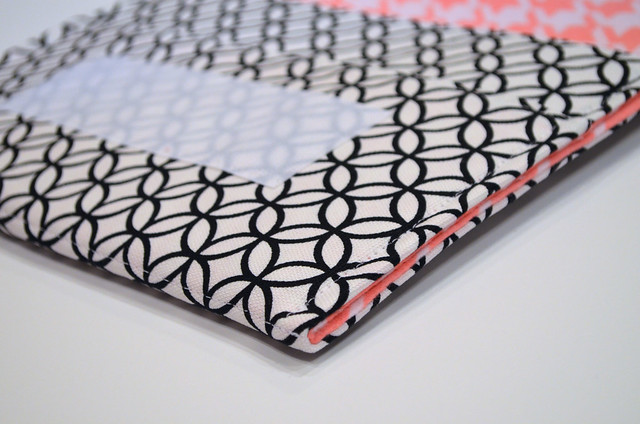
10. Stand back and admire your new iPad sleeve! (And smile at how quickly it came together!)
Don't forget, you can get the downloadable PDF version of this tutorial here!
If you make an iPad sleeve, I would love to see it! Be sure to add it to the SewCraftyJess Flickr group
I love this! Thanks for sharing the tutorial :)
ReplyDeleteThat's for the tutorial. Love your fabric choices
ReplyDelete