Friday, March 27, 2015

Sponsor Sales

Happy Spring!  Or in our parts, its was spring on Wednesday, and today, snow flurries.  Anyways, what better way to celebrate good weather/drown our sorrows about bad weather than a little bit of fabric shopping??  And even better when its on sale!

Rose Room Quilts - A Modern Fabric Shop

Now through Tuesday March 31st Rose Room Quilts has all fabric bundles 20% off!  I have another baby boy quilt to whip up, and these fabrics seem to be calling my name!

OH BOY! Half Yard Bundle


Lady Belle Fabric

Lady Belle Fabric has Tula Pink's Elizabeth in stock, and the Fat Quarter Bundle is discounted!  

Elizabeth by Tula Pink for Free Spirit Fat Quarter Bundle  


Dragonfly Fabrics is running an awesome sale through Sunday, March 29th, all Cotton and Steel fabric yardage is 15% off!  Use code CandS15!

Viewfinders in NavyViewfinders in PinkViewfinders Natural Multi

I don't know about you but I just want to buy up all the viewfinders!  

Have a great and hopefully spring-like weekend, and happy shopping!


Tuesday, March 24, 2015

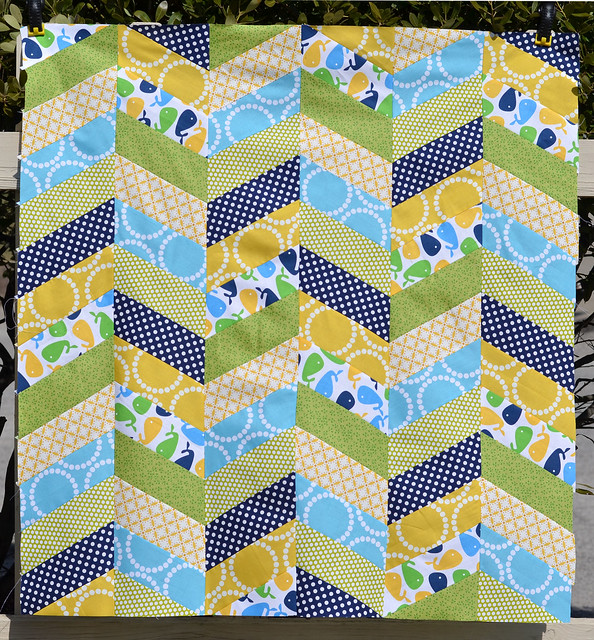
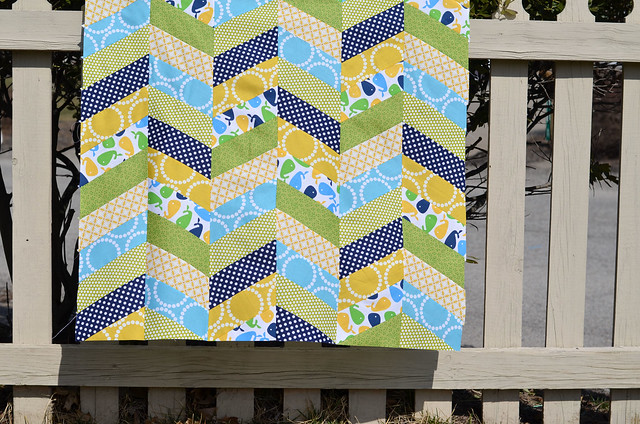
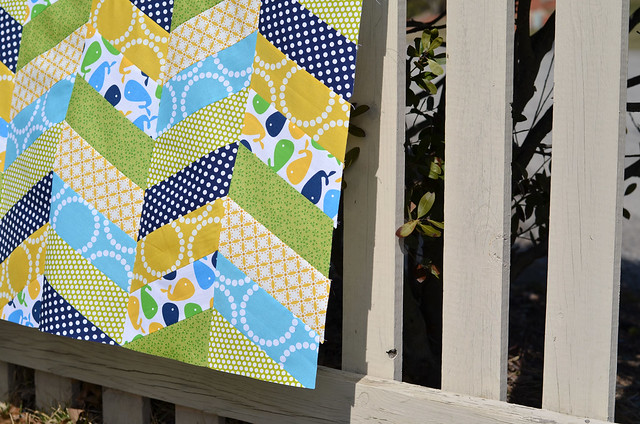
Whale of a Tale baby quilt top


DSC_1000

This past weekend I had an itch to make a quilt.  It's been entirely too long, and with two friends just having babies in the past month, it was good timing!  I wanted something simple that I could put together in one or two naptimes, so I took to pinterest for inspiration, and came across this quilt and knew it was just perfect.  I for one believe you can never have too much chevron or herringbone in  your life so  this quilt fit the bill.

DSC_1006

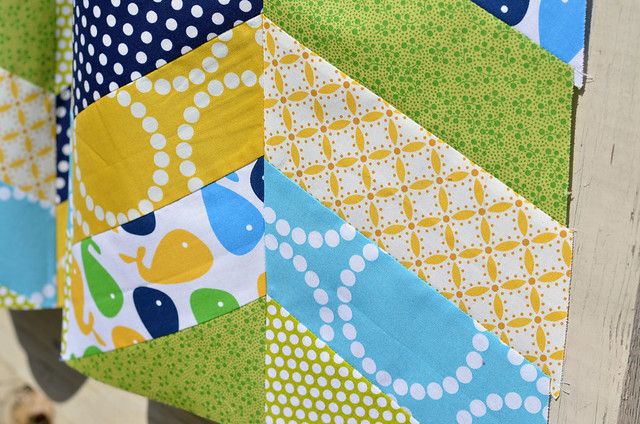
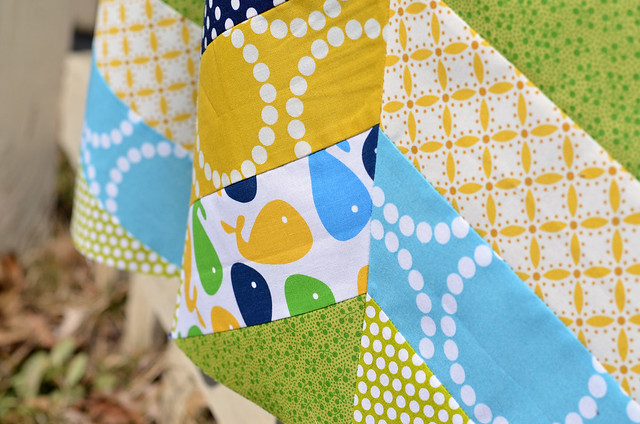
I did a little stash shopping, and dug out this Ann Kelle whale print, one of my favorite kiddie prints.  I picked out a few other blues, greens and yellows that coordinated, and got to cutting!

DSC_0999

A naptime and a half later this quilt top was born.  I just love it to pieces, and if I ever have a boy myself, I think this is the inspiration for his one day nursery.  So bright and bold, and FUN!

DSC_1007

DSC_1002

I'm hoping to get this basted and quilted this weekend, so it can be off to its new home for lots of baby snuggles!


Friday, March 20, 2015

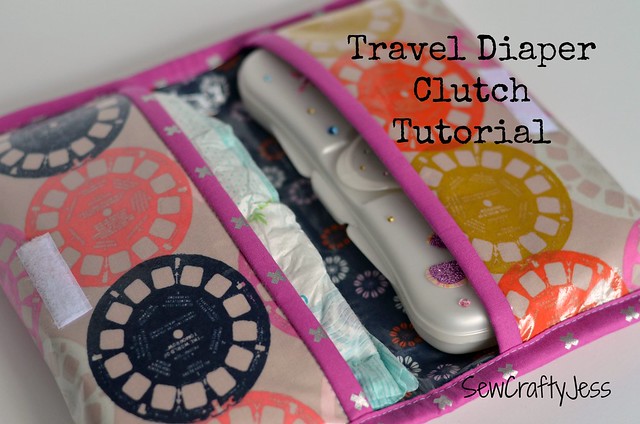
Travel Diaper Clutch Tutorial


****Looking for the Sew Pretty for Little Girls e-book giveaway?  Click here!****

****This giveaway is now over****

********************************************

As promised, I'm back with a tutorial for the super simple travel diaper clutch I shared last week!  This really is so easy to make, and comes together well within an hour.  Go ahead, make one for your self, and then one for all of your friends, as everyone should be carrying diapers in style.  See below for the tutorial, or download the PDF version for easy printing.  If you make one, I'd love to see it!  Tag me on Instagram @sewcraftyjess, or add it to the SewCraftyJess Flickr group!

16700203125_bb9afaa4c0_o

Travel Diaper Clutch
PDF Version
Folded Finished Size: 6.5" x 10.5"

You will need:
Outer fabric: 22" x 10.5"
Lining fabric: 22" x 10.5"
Binding fabric: (2) 11" x 2.5", (2) 13.5" x 2.5"
Sew-on Velcro 2" x 1/2"" 
Fusible fleece*: 22" x 10.5"
Iron-On Vinyl*: (2) 22" x 10.5"
*Optional-fusible fleece is highly recommended if using quilting cotton weight fabric

Instructions
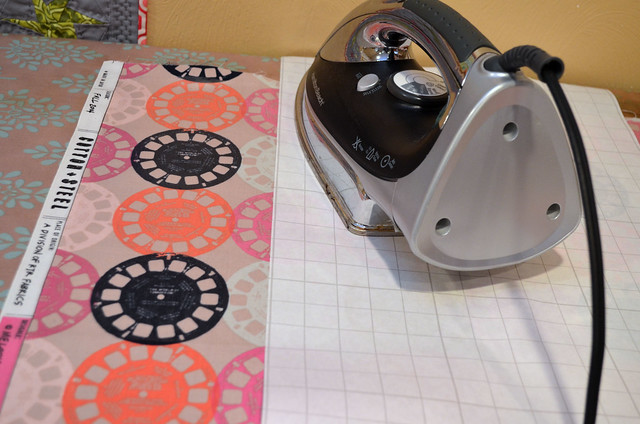
1.  Apply fusible fleece to wrong side of outer fabric

2.  Following package instructions, apply iron vinyl to right sides of both outer fabric and lining fabric.

DSC_0925

3.  Layer outer fabric and lining fabric wrong sides together and pin.  Baste layers together using 1/8" seam allowance.  Note:  If using iron-on vinyl, keep your pins within 1/4" of the fabric edge so the pin marks are hidden within the seam allowances of the finished product.  

DSC_0926

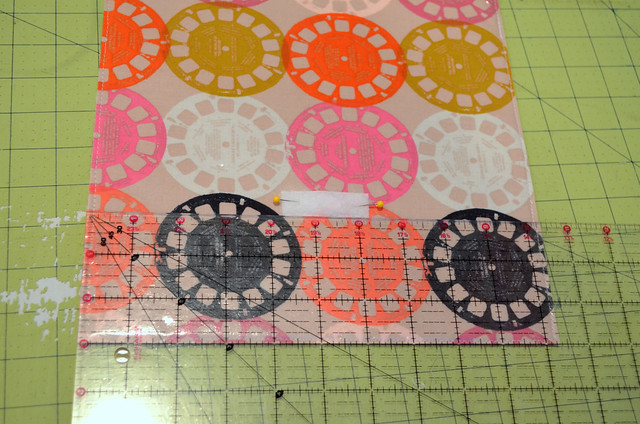
4.  Center velcro 2" in from each 10.5" edge of the outer fabric (below picture shows 3", pretend it shows 2"), and sew in place.

DSC_0927

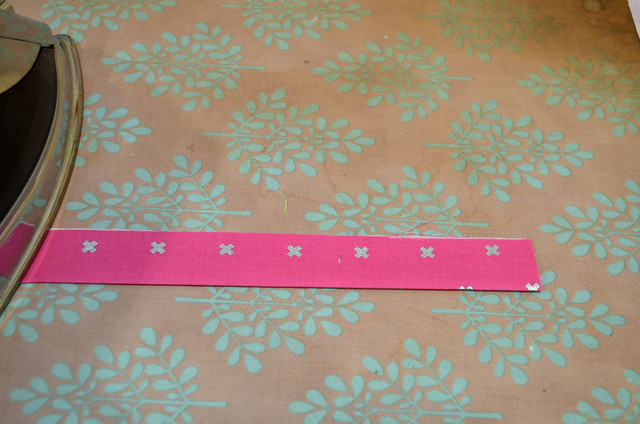
5.  Take the (2) 11" x 2.5" binding strips, fold in half lengthwise, press.  

DSC_0928

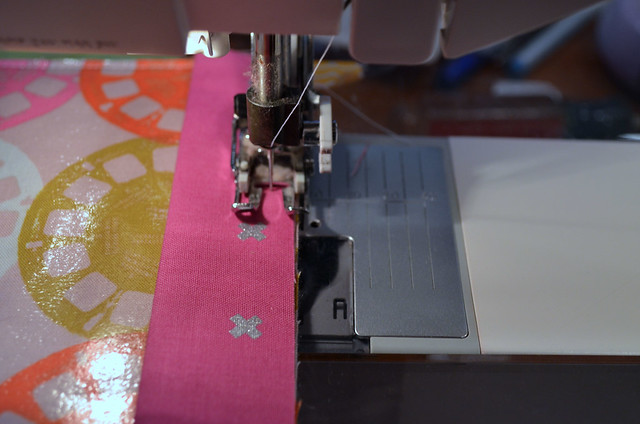
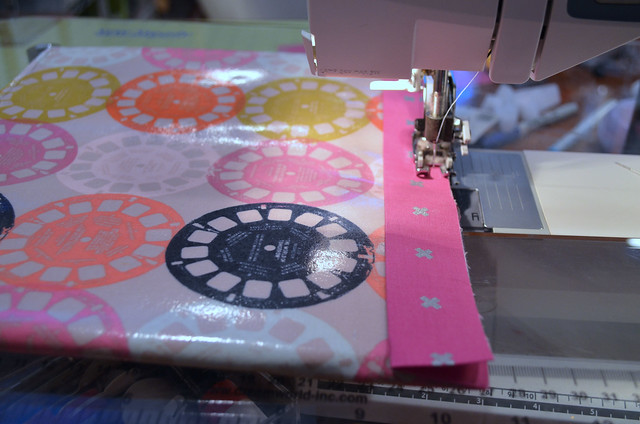
6.  We will attach (1) binding strip to each 10.5" edge in the same manner as applying quilt binding.  Align the raw edges of the binding with the outer fabric raw edge of the 10.5" side, sew with 1/4" seam allowance.

DSC_0930

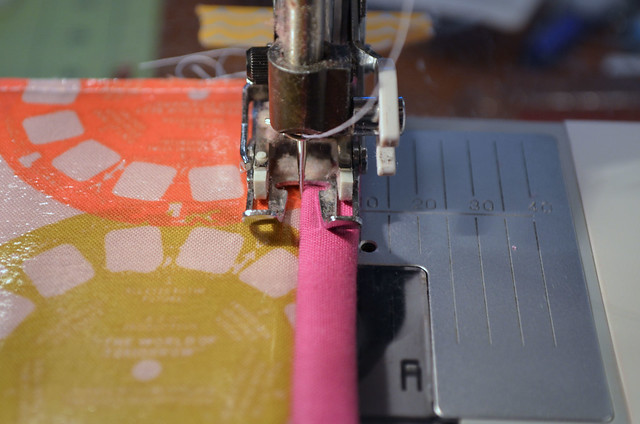
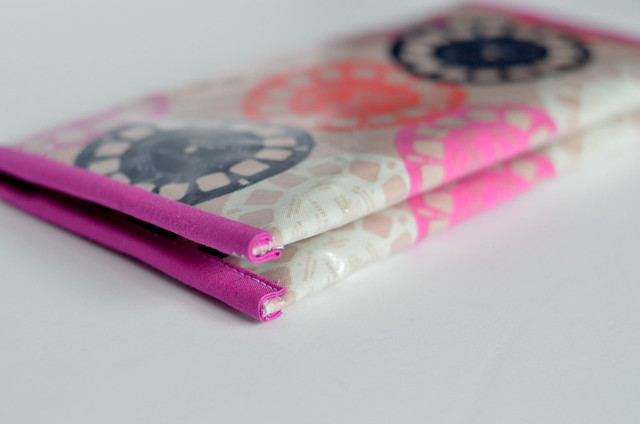
7.  Fold the finished edge around to the back of the fabric (lining fabric side).  Stitch in the ditch from the outer fabric side, catching the finished edge of the binding on the lining side of the fabric sandwich.

DSC_0931

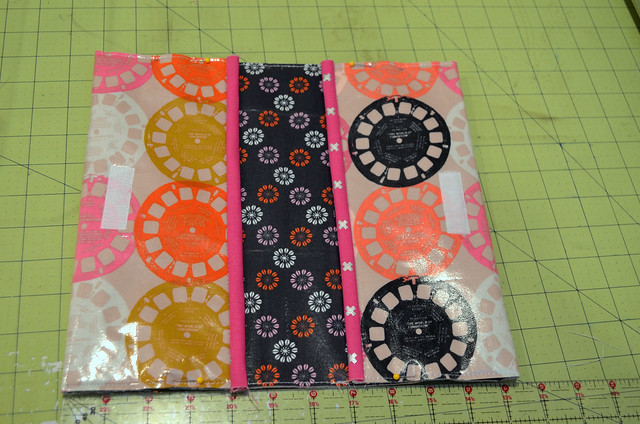
8.  Fold each 10.5" edge in towards the center, creating (2) pockets that measure 4.5" x 10.5".  Baste in place following basting stitches from step 3.

DSC_0932

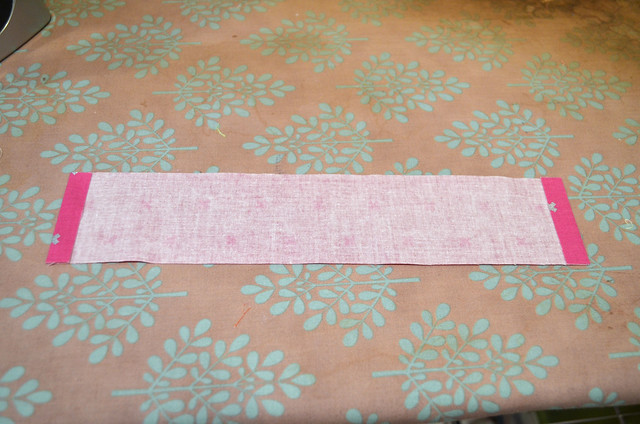
9.  Fold short edges of remaining (2) binding strips 1/4", press.  

DSC_0935

10.  Fold in half lengthwise, as in step 5.  

11.  Apply binding strip to each unfinished edge as in steps 6 and 7.  I prefer to begin applying binding to the "outer fabric" of the pouch, and fold binding around to the inner "pocket side".  

DSC_0937

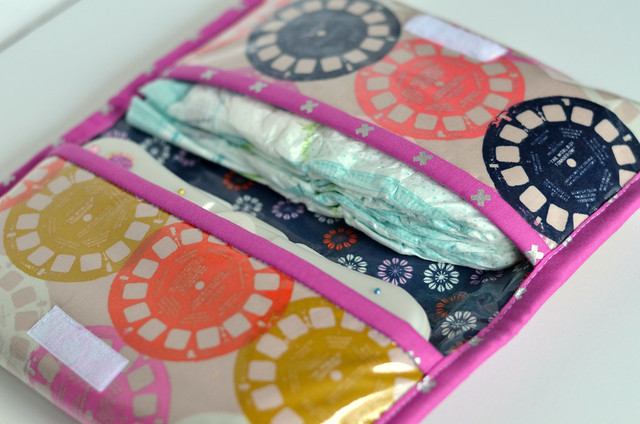
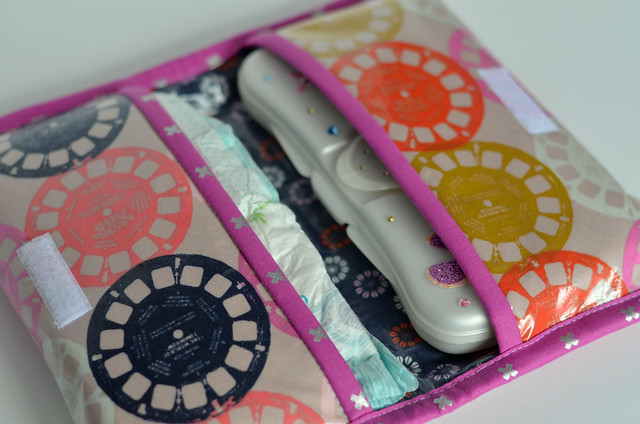
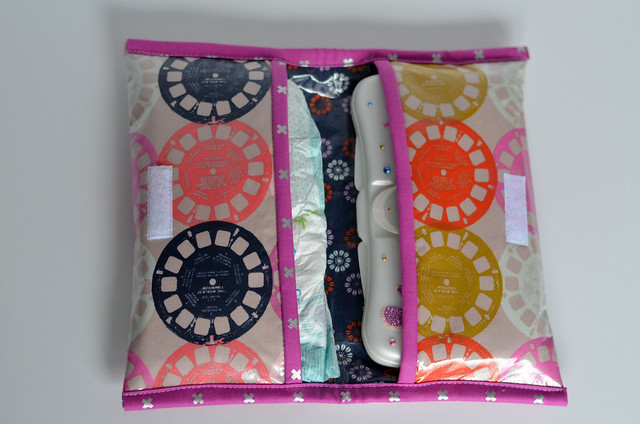
12.  Fill your new stylish diaper clutch full of diapers and wipes, enjoy!

Diaper Clutch


Tuesday, March 17, 2015

Sew Pretty for Little Girls Blog Hop & Giveaway


****This giveaway is now over****

********************************************


I'm so excited to be here today as part of the Little Lady Liberty Blog Hop to celebrate the release of Alice Caroline's book Sew Pretty for Little Girls (ebook version) (called Little Lady Liberty for UK peeps).  When Alice asked if I wanted to take part, yes couldn't come out of my mouth fast enough.  Aside from the book being chocked full of 20 beautiful projects for little girls, its dripping in Liberty fabric eye candy!


LLL1

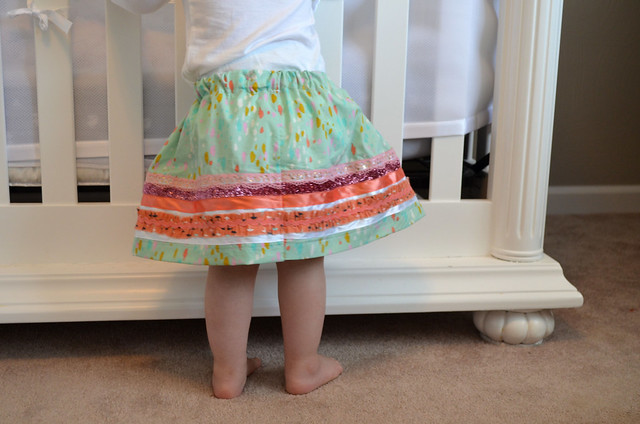
The book is divided into three sections, Blissfull Bedrooms, Twirly Girly Garments and Pretty Little Things.  It was almost impossible to pick just one project to make but ultimately I decided on the Fleur Embellished Party Skirt, because Nora definitely cannot have too many skirts in her closet.

DSC_0967

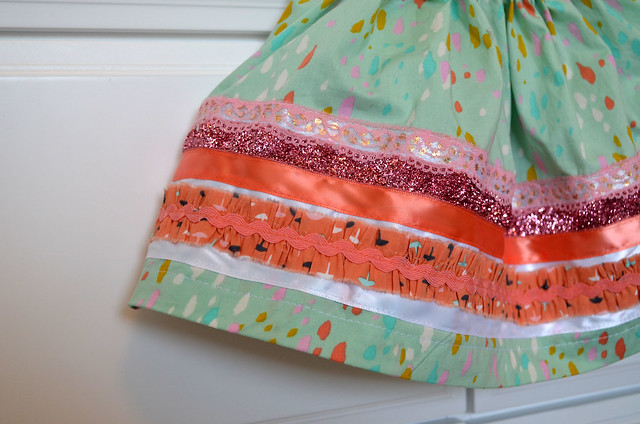
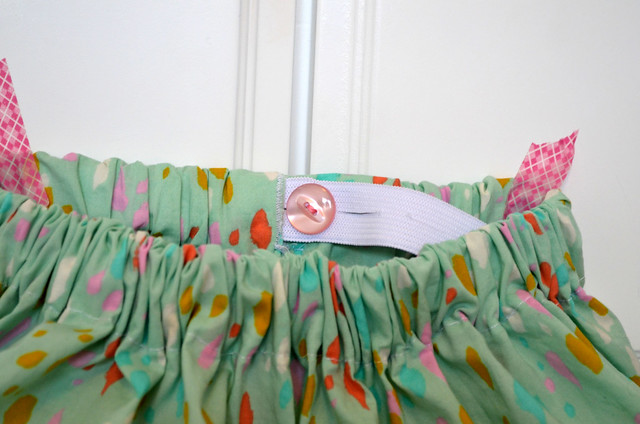
I chose a Cotton + Steel lawn print to get a similar drape and hand as the Liberty fabrics shown in Alice's book, and I cannot be happier with how it turned out.  I altered the length of the skirt slightly as the book shows cutting measurements for average size for a 6-7 year old girl, but the size customization tips in the pattern worked like a charm.  Nora gives her seal of approval too!

DSC_0994

DSC_0993

I have fabric purchased to make the Libby Ra-Ra skirt next, now just to find a few minutes to put it together!


Now for the giveaway!  Stitch Craft Create is giving one lucky SewCraftyJess reader an ebook version of Sew Pretty for Little Girls!  Enter the rafflecopter giveaway below for your chance to win, winner will be announced here at SewCraftyJess on Tuesday, March 24, 2015.

a Rafflecopter giveaway


Thursday, March 12, 2015

A new toy and Flashback tees

So I've been toying with purchasing a serger for a while now.  Pretty much every time I veer into garment sewing territory, I get the itch.  "This would be so much easier if I had a serger" runs on play back the entire time I am sewing.  Usually my garment sewing kick is incredibly short lived and I forget about it for a few months.  

Enter the Julia Cardigan.  I saw someone post about this cardigan on Instagram, and immediately decided I needed to make it.  I am eternally cold at work, so cardigans are always in short supply, and I can never have enough.

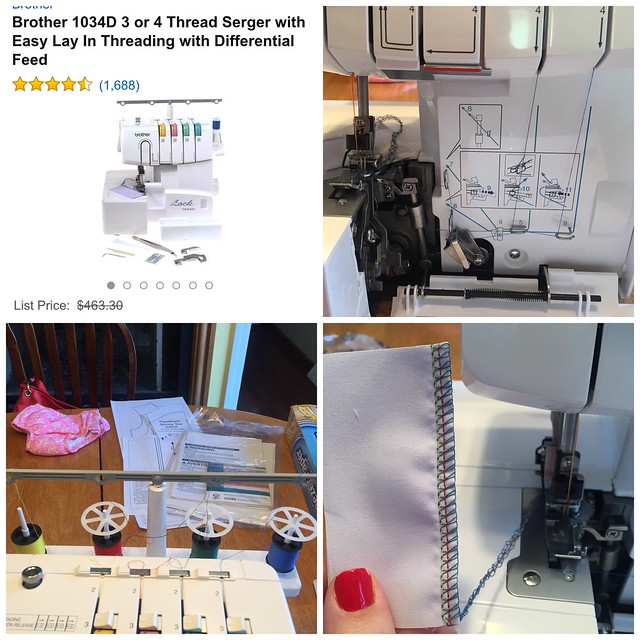
I have never ever sewn with knits so I ventured in to Joanns, picked a jersey lighweight knit and a stretch needle, took advice from the lady at the cutting counter "just go slow, use a jersey needle and a zig zag stitch," went home and sewed with regular sewing machine.  All was well, the cardigan turned out great, sewing with knits was not at all intimidating and I decided I needed many many more Julia cardigans in my closet.  This pretty much sealed the deal that a serger was now in my near future.  A few Google and Pinterest searches, and I learned that a serger is pretty much a knit's best friend and the deal was sealed.  A few more Google-ings of "best beginner serger" led me to the Brother 1034D, and 2 days later this guy showed up on my door - thank you Amazon Prime!  

Untitled

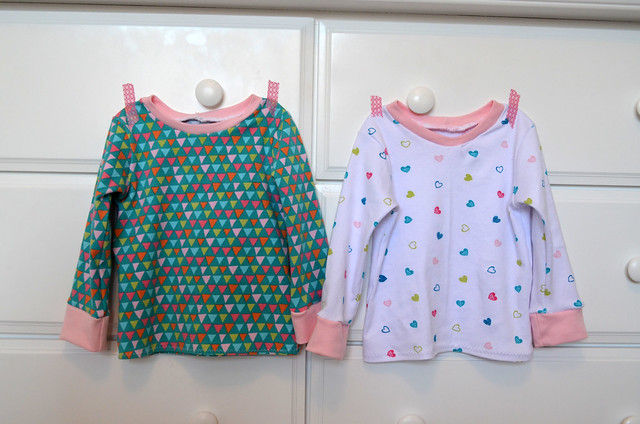
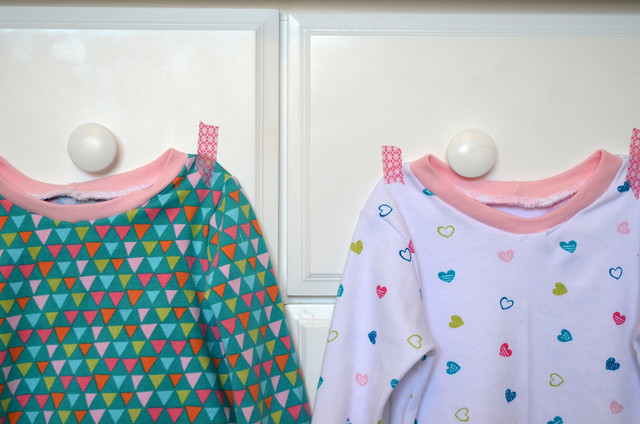
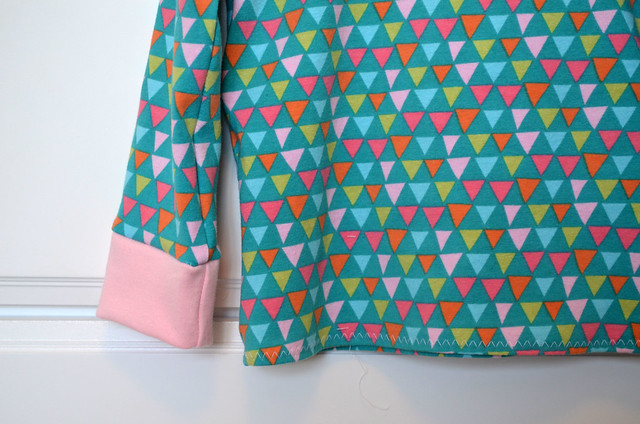
So after I got my new friend out of the box and got her threaded (huge thanks to this video) I decided to give this Flashback tee a try.  I had purchased this pattern thinking Nora can always use a few new tees and it did not disappoint.

DSC_0979

DSC_0983

These sewed up like a dream and so incredibly fast thanks to my new serger friend.  I just love how finished and professional my seams now look!  I have more knits on the way from Girl Charlee and have at least 2 more of these tees I want to stitch up.

 DSC_0976

I am still getting the hang of how the serger works, I'm very good at edges that I don't need to worry about backstitching, but those finishing seams I'm a little in the dark about, as you can't make a serger go in reverse.  If any of you have tips or suggestions, I'd love to hear them!

DSC_0986

DSC_0989

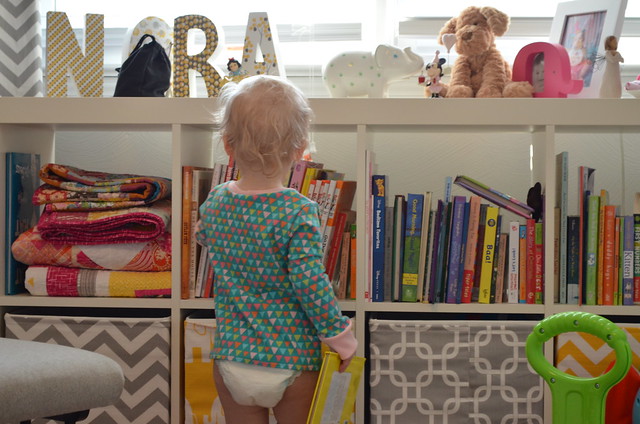
Nora seemed to give her stamp of approval, as they certainly didn't slow her down from partaking in her favorite activity of taking each and every book off the shelf and then moving on to the next exciting adventure of a 17 month old.

DSC_0985

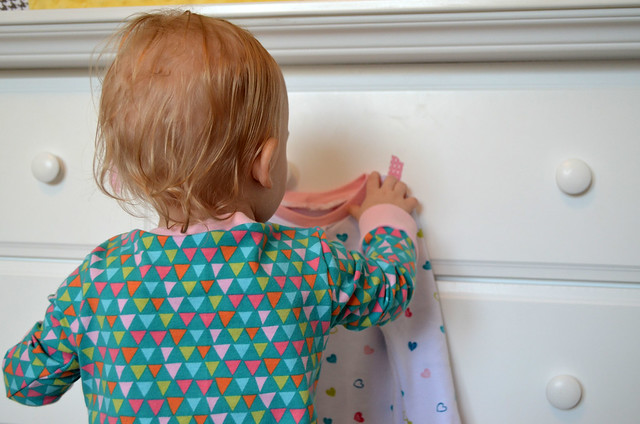
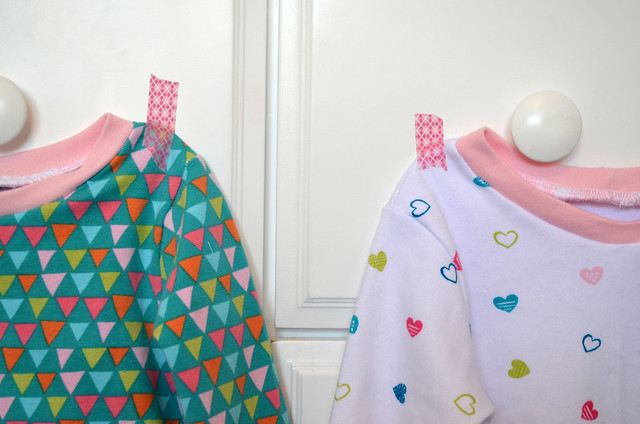
She liked them so much she even wanted to try on the second shirt, as she is incredibly helpful like that.  Yes, that's what it was, it certainly wasn't that she wanted to eat the pink washi tape.  No that wasn't it at all.

DSC_0982

Stay tuned for more adventures with my new serger friend!  Pretty please send your favorite tips and tutorials my way, I would absolutely LOVE to hear about them!


Tuesday, March 3, 2015

New Favorite Diaper Clutch

DSC_0944

I decided this weekend that I needed a break from fabric sorting and organizational list making with regards to this hot mess, and just wanted to sew something.  I wasn't overly picky, I just wanted to make something that could be completed in a naptime.  A diaper clutch wasn't something I thought I actually needed up until now, but now that we are finally getting to the point that we can head out somewhere for a short time and not lug the entire Goliath size diaper bag with us, I have been thinking I could use something to stash a few diapers and wipes so that they aren't loosely floating around in my purse.

DSC_0943

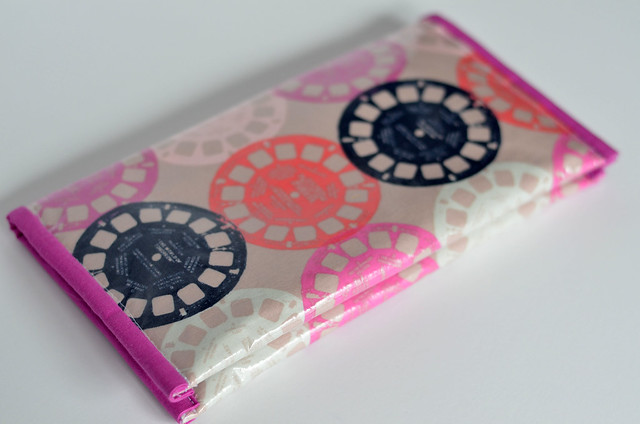
Enter this adorable (if I say so myself) diaper clutch.  I checked around for a tutorial quickly and couldn't settle on something that met all my needs (small, cute, not overly time consuming to make, and didn't have a built in changing pad as I keep one of those in my car all the time anyways).  So what does one do?  Of course scour pinterest for inspiration, get to sketching and traslate into fabric!

DSC_0950

I purchased some Thermoweb Heat'n Bond Iron On Vinyl and thought this would be the perfect project to try this stuff out on.  Oh. My. Goodness.  How have gone this long without trying this stuff out!  I love it, and in fact am thinking of projects just so I can use more of this stuff.  In case you are not familiar, it turns any sort of standard cotton fabric into an oil cloth like fabric by ironing on a clear vinyl to the right  side of the fabric.  Genius.

DSC_0947

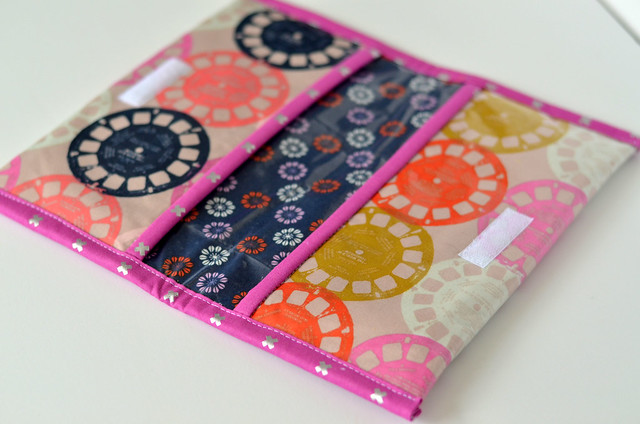
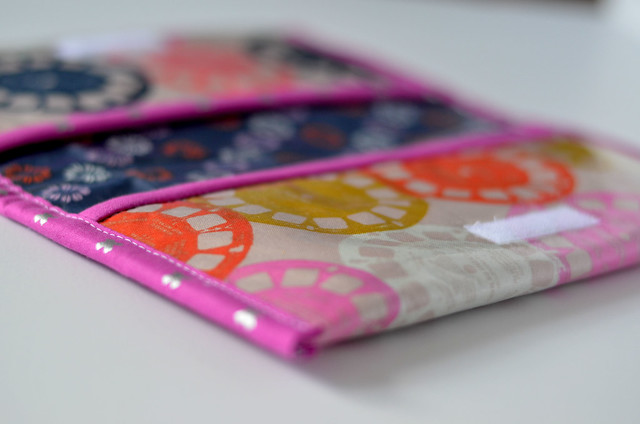
Since this little clutch was purely for my benefit (lets face it, mommy does about 99.5% of the diaper changes when out and about) I cut into my Cotton + Steel stash, as what better fabric to tote diapers and wipes around in than some super fun View Finders, and pink ones at that!

DSC_0949

I really could not be more pleased with how this turned out, and lucky for you, dear readers, a tutorial is in the works, you know in case you also want to carry diapers and wipes in style.  I want to make a second clutch and play with tweaking some of the measurements before finishing the tutorial, but it should be good to go by next week.

DSC_0948

Just a quick #honestcraftroom update, the stars have aligned, as I have convinced my hubby to take an Ikea trip with me on Saturday (I may have bribed him with his choice of lunch venues, and spun it as a date), AND my mom is free to babysit Nora for the afternoon, double score!  Hopefully by Saturday evening I will at least own the necessary tools to get organized!

Oh!  And in the name of decluttering, I have found more fabric I'm planning on destashing on Instagram in the next few days!  If you don't already follow me, I can be found here at SewCraftyJess, and my destash account here at SewCraftyJessDestash

Tuesday, February 24, 2015

#honestcraftroom

It's been brought to my attention several times ((thank you husband)) that my sewing space is not what you would call the neatest space in the house.  Yes yes, I am perfectly 100% aware of this fact and did not need reminding in the slightest, but here's the thing, when my free time/sewing time is already reduced to almost nothing, the absolute last idea that pops into my mind is "lets clean this sewing room up!" when a free moment arises.  Yes, I can gaurantee that phrase is never ever uttered.  I simply put my blinders on and get stitching.  Sure, while I'm stealing a few moments to sew here and there the inner dialog is going "we really need to get this space under control" but it is quickly pushed aside and forgotten about until next time.  

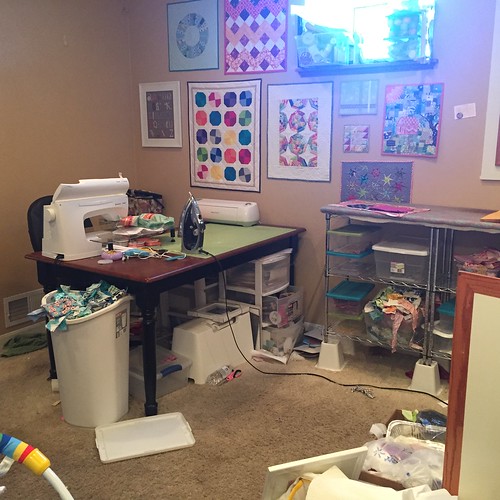
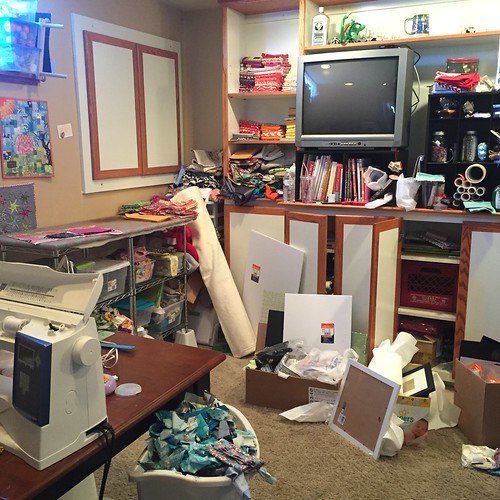
So anyways, after a few months now of wearing those blinders, I can't ignore it anymore, and I'm resigned to the fact that a major overhaul is necessary.  I can't believe I'm going to post this on the inter-webs for all to see, but here's what I'm working with:
Untitled

Ok so this view isn't that terrible, just needs a little bit of organizing and decluttering.  Oh but wait.  There is definitely more:
Untitled

Yikes!!  Just looking at this I'm honestly surprised I haven't broken an ankle maneuvering down here yet.  Ok now that I've shared my dirty secret and you're all thinking "what a slob, I can't believe she works like this," let me share a few in my defenses.

In my defense my sewing area is in our finished basement and it is right off of the garage, where we come in and out of on a daily basis, so my sewing space has a tendency to become the "dumping ground" for all things that don't  yet have a home in our home.  Like that diaper box that is filled with party decorations from Nora's first birthday party. In October.  Um, yeah.  And then there's the fact....Oh I could go on and on, but point of the matter is I let it get to be a disaster zone, and am ready to face facts that something needs to be done.  like now.

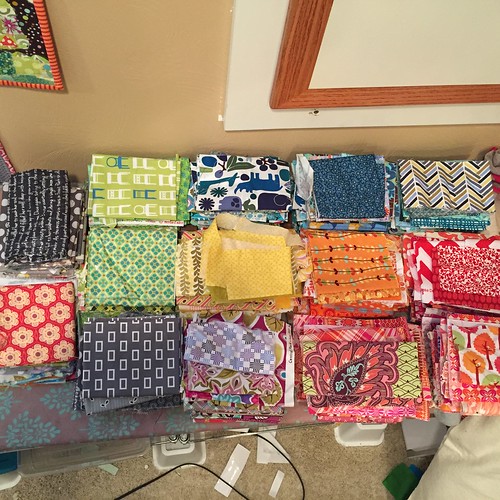
I'll be honest, I've been thinking about writing this #craftroomorganization post for some time now, and just got overwhelmed at the thought of what exactly to do to first.  So I didn't do anything at all.  Last week I decided to just take a step, any step towards a cleaner more organized sewing and crafting space, and decided to start with cleaning house in the fabric scrap department!
Untitled

I dug through each and every scrap bin under my ironing board and cleaned house.  Like got rid of it all by means of a destash on Instagram.  If you don't follow me already, I can be found here and my destash account can be found here at SewCraftyJessDestash.  I can't believe the amount of scraps I was hoarding, to the tune of over 35 yards of scraps by weight.  Whaaaat???  Insane I know.  Anyways, my sewing room is 35 yards of fabric lighter and I feel great!  Definitely stay tuned to SewCraftyJessDestash, I have a whole bunch of FQs and actual yardage I'm looking to purge in the near future.

So what to do next?  Good thing Pinterest is around to show me the craft room organizing way.  Here's what I have so far:

Follow Jessica Kelly's board craft room on Pinterest.

I'm thinking I need more open shelving storage.  I'll have to take some measurements, but I'm hoping one or two Ikea Kallax book shelves will help, and I can't resist adding one of these Raskog carts, definitely in blue.   I also need to take advantage of wall space, so I'm thinking a big DIY peg board would be great, with some of these hanging buckets.  The wheels are turnings so stay tuned for more to come!

Any craft room organization tips you swear by??  Have any pins I need to check out??  Please send them my way, I would love to know!