Wednesday, April 27, 2011

WIP Wednesday {4.27.2011}

WIP Wednesday at Freshly Pieced

It's Wednesday which means it's time to share whats been going on down in the sewing room this week!

Completed Projects

pretty {little} pouch swap


I spent a few days working on mastering purse frames.  I've gotten a result I'm pretty pleased with, and hopefully my partner will like the pouch I made as well!  The first zipper pouch I made I think will be sneakily included in my package to my partner as well...I personalized it for her, so I really have no use for this pouch by keeping it!  These will be headed out in the mail this weekend.

April Bee Blocks


I tackled my April bee blocks over the weekend and got them mailed back on Saturday (I think I was getting the evil eye from the others behind me in line at the post office, as I showed up with about 10 things to mail...)  This particular block is for my partner in the 3x6 caretaker swap.  I don't think she has received it yet...so it's still a secret!

New Projects/In Progress

3 x 6 bee blocks


I've gotten to work on my bee blocks for the 3 x 6 bee, one of my bees has already finished her blocks and mailed them out, so I thought I should get my butt in gear and get to work!!  I have been wanting to try a dresden plate block for some time now, so I figured theres no time like the present!  I must say that I absolutely love this block, and am seeing a dresden quilt in my near future.  This particular block is for missplanner, she requested purple, aqua/turquoise and grey, which wouldn't be color palate I thought I would like, but after seeing these colors together made me change my mind!

Quilt tops awaiting quilting

Central Park Baby Quilt
Rainbow Scrappy Quilt
Postage Stamp Quilt
...these are numero uno priority after my 3x6 blocks are done and mailed!

This Weeks Stats

New Projects: 1
Completed Projects:  2
Ongoing Projects:  4

Be sure to stop over at Freshly Pieced and check out the WIPs!!


Sunday, April 24, 2011

purse frames: hits, tips and tricks

I have spent the better part of my available sewing time this weekend playing around with purse frames!  A few months back I ordered a bulk order of these frames from 3DPatternPaper on Etsy with grand ideas of making these purses to sell, and after making two or three purses, the rest of the frames have sat in a box untouched for the past 6 months.  

I am by no means an expert on how to use these things, but I thought I'd share some tips and tricks I've picked up along the way.


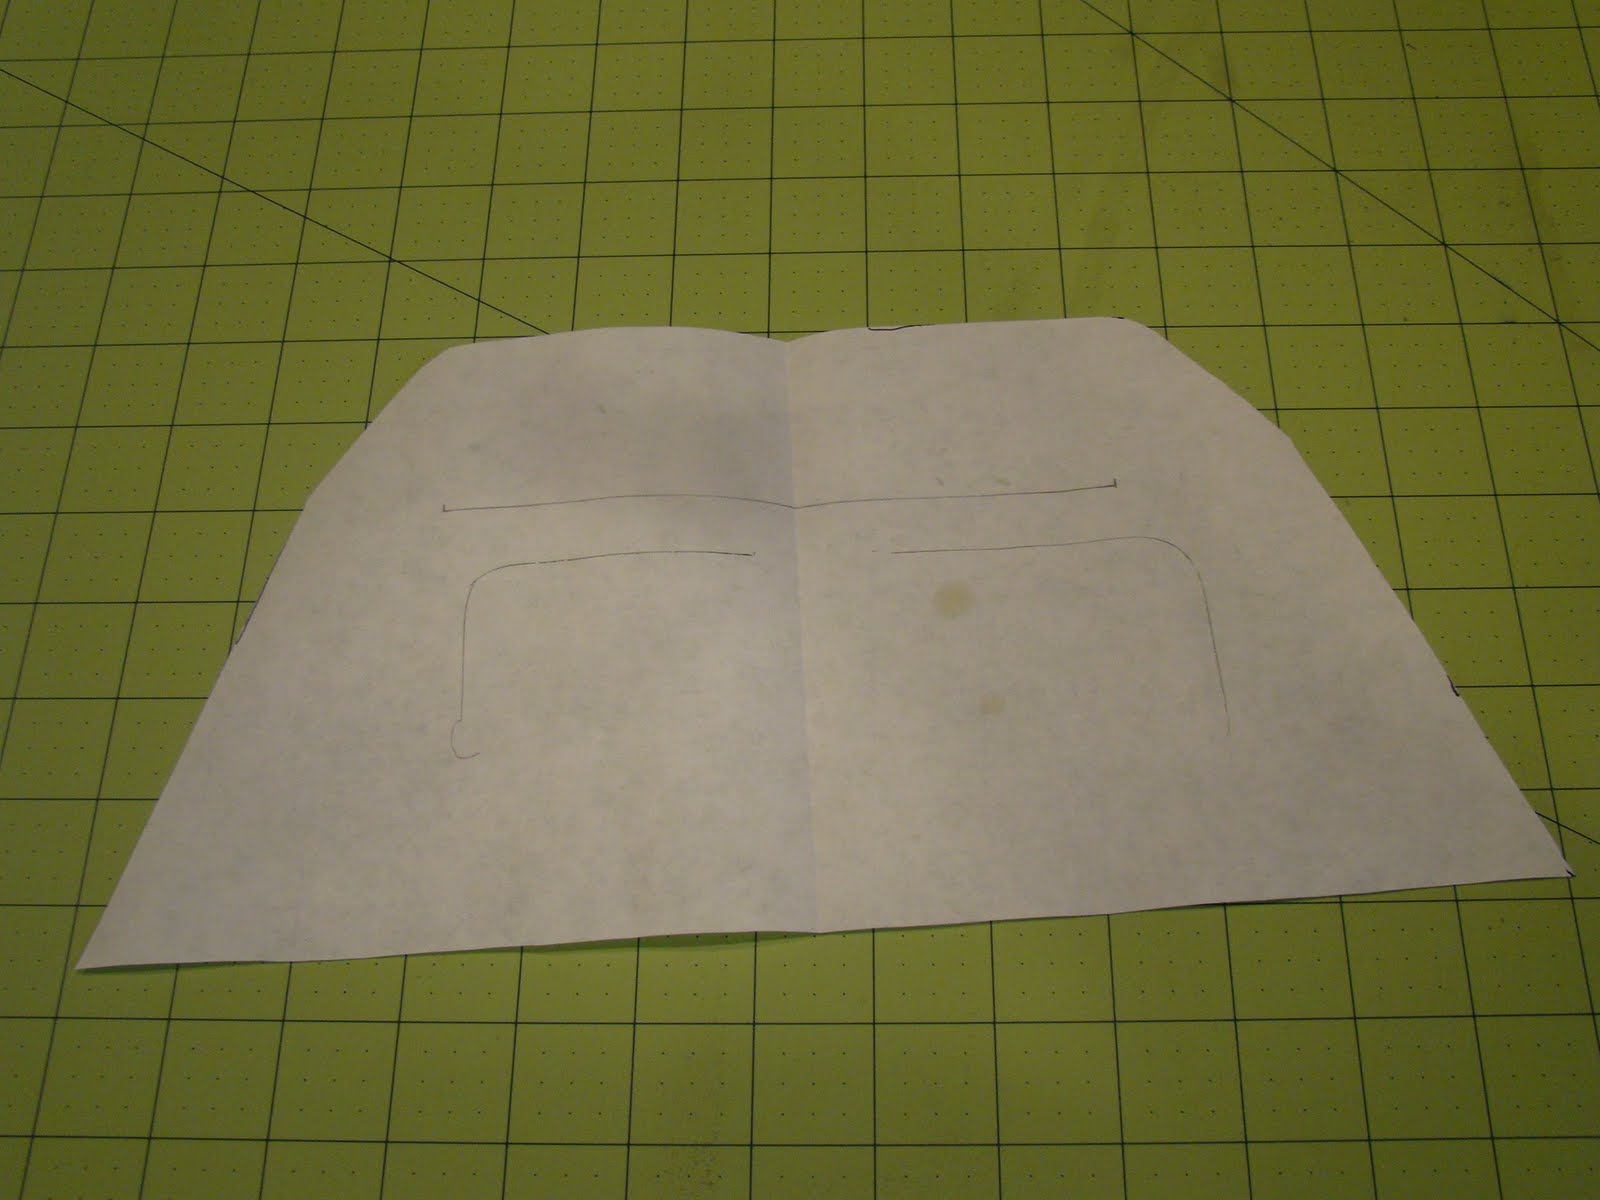
This was my first pattern I made.  I followed the tutorial put together by UHandbag and the tutorial by Michelle of i like orange, too.  Basically the idea is to trace the frame you are using, the ones I have been playing with are about 7" wide and about 2 inches deep, and then measure around the top and sides about 1/4 inch to incorporate the seam allowance when sewing.  The trick is to make sure that the top of the pattern fits the frame.  The sides need to flare out some to give the bag body and "poofiness". 


This is the resulting bag using the trapezoid pattern.  This pattern I thought was just "eh".  I found I had to make the sides of the pattern really wide to get the room in the bag I wanted, but then when I boxed the sides, it was a little too wide.  Back to the drawing board.  


I ran across this pattern idea here.  My thought was that if I could use more of this "house" design I could get a little more fullness without such of a wide bottom when boxing the sides.


I liked this one better than the first.  I didn't get those funny looking "bunches" on the  bottom of each side, but I was still looking for more of a shape like this, kind of a marriage between trial 1 and trial 2.  


So I came up with this pattern design.  Kind of a blend of the first and second trial.  Has the style of the "house" pattern, but the sides aren't straight, which I though would give me a little more volume in the bottom of the bag.


This is my favorite of the three options, it has the volume in the bottom, but no funny looking "pouchy-ness" outside the frame that version one had, and the bottom isn't ultra wide to get the same amount of volume.  

These little purses/bags come together quite quickly, but the most important tip for construction comes in when you sew the interior and exterior together.  The key to getting a nice seam is when starting your stitching and finish your stitching on each half of the "mouth" (where you eventually will glue the frame to the fabric), you have to make sure to start and finish EXACTLY where you started and finished sewing the bottom portion of the outside and lining.  This is where the hinge on the frame will sit on the purse, and not sewing this correctly will result in a gap when you turn the bag right side out.

Michelle's tutorial has some great pictures of this step.  She shows how to hand sew this together, but the idea is the same with machine sewing.  I actually found it helpful to use a slightly different color thread than my interfacing (I used grey thread) so that it is very easy to see where you started and stopped sewing, making it easy to identify where to start and stop when sewing the outside and lining together.  

I know everyone is different on interfacing preferences, but I found using a mid weight fusible interfacing fused  to the back side of the outer fabric, and then a fusible fleece fused to the interfacing was the perfect mix.  I didn't apply any sort of interfacing to the lining.

Hope these tips helped take the scary out of working with purse frames!  Let me know if you'd like me to post some step by step instructions, I just figured between Michelle's tutorial and the UHandbag tutorial, I'd be redundant, but I'd be more than happy to do so!

Again, hope this was helpful!!


Friday, April 22, 2011

April Bee Blocks

I finally sat down and worked on my bee blocks for April, the envelopes seem to just sit on my sewing table giving me the evil eye until I break into them and get them done.  Don't get me wrong, I really do enjoy working on these blocks, as I've said before I really like trying new things and different techniques, but I think I've gotten to a point to where I may have bitten off slightly more than I can comfortably chew.  I feel like I haven't worked on anything of "mine" in weeks, and every time I sit down to sew its for a bee or swap.  While these things are addictive, I think in the future I will treat them like accessories...what is that Stacey and Clinton say?  Put on one less accessory than you think necessary?  Anyways, something like that.  Rambling over.  Onto what I actually have gotten done!


This block is for the 3 x 6 bee caretaker swap.  My secret partner listed aqua/turquoise and orange as her color preferences, so I hand pieced some hexies together with fabrics from my stash and then sashed them with some kona white.  This will be going out in the mail tomorrow, hope she likes it!!


\

These blocks are for Dustin in the Solid Bee.  He requested we make either flowers or butterfly blocks of any shape or size.  These blocks are actually quite small, the butterfly is about 7 inches x 8 inches and the flower  is about 8 inches x 10 inches.


I paper pieced both of these blocks using the pattern found here.  I really enjoy paper piecing.  Now I don't have the patience to do an entire quilt out of paper pieced blocks, but its kind of like paint by number only with fabric!


For the Simply Strings bee, Suzy requested these really fun strip pieced block.  She sent along instructions for us to follow, and these blocks came together quite quickly. 


I am really excited to see how this quilt top comes together, as everyones blocks are following the same pattern, yet slightly different!


I know this technically doesn't fall under the category of bee blocks, but  I've also been working on my pouch to send to my partner in the pretty {little} pouch swap.  Lucky for me my partner seems 100% open to about anything I want to make for her!  I pulled out my purse frames and started playing around with some patterns to see what I came up with.  


This is what I have so far.  I'm not 100% thrilled with the shape yet.  As I scour etsy for ideas, I'm looking for a shape more like this...I think I may have it figured out, but for a first trial, this isn't a bad option, if I end up keeping this one, I'm sure I can find a use for it!!

Anyways,  happy Easter everyone!


Tuesday, April 19, 2011

Pouch Mania


It's been all things pouchy in my sewing room the past few days.  My mom asked if I would make her and her "Mahj friends" new little wallets to hold their Mahj things, and looking at the sad looking little pouch she had been using, I just couldn't say no.  


I am participating in the Pretty Little Pouch swap, and figured this would be a good way to get some zipper practice.


These finished little pouches measure approximately 8 inches wide and 5 1/2 inches tall.  I just did some simple piecing and added a fun zipper, and voila!


I hope the ladies like their new pouches!!  


After putting so many of these together in a row, I feel like I have mastered the zipper.  I used Kelly's tutorial for making the zipper tabs, and they came out near perfect each time!  I always liked the look of zippers with the little fabric tabs on the ends, but could never figure out how to make it just right.  With Kelly's tip of cutting the zipper 1 1/2" shorter than your piece of fabric you are piecing into (I cut my fabric 9 inches wide, so I cut my zipper 7 1/2 inches long) the ends finished perfectly every time.  


I decided while I was in pouch making mode I'd put one together for my partner in the Pretty Little Pouch swap too!  I had been itching to cut into my Denyse Schmidt fabric I got at Joann's last week, and thought this  would be a nice little project for it.  This is actually the backside of the pouch, the front has my partners name embroidered on it, so of course I can't show you that!  I feel like this is too simple to just send this pouch, so I'm thinking of playing around with my purse frames to send along a second pouch.


It feels strange, but I don't think I will have a WIP Wednesday post this week!  I just don't have any major projects that are in the works for tomorow!  While it is a good thing, all of my sewing this week has been smaller quick finishes.  On a fun note, I've had two more orders for pintoppers!  I know everyone is probably sick of seeing them, but perhaps I'll share a pic of the latest batch tomorrow.  


Sunday, April 17, 2011

Sis Boom Jamie Dress


I decided to take a leap into unknown sewing territory for me and attempt to make something wearable.  I jumped in on the Sis Boom Jamie dress sew along over at sewsweetness, hosted by Sara.  I cannot believe I am sharing these pictures with you, as I tend to hate pictures of myself, but its proof that I actually have sewn something that I would wear in public!!


I cannot sing enough praises of this pattern, as being a complete newbie to sewing clothing, the instructions were so precise and most every step in the pattern is accompanied by a picture showing what it should look like.  I started working on this Thursday evening, thinking I would *just* cut out the pattern pieces with the intent of getting sewing this weekend, but within 4 hours, I had a compete dress, minus the straps and the hem!  I got back to work this afternoon and within an hour or two had a complete finished dress.  


I think the only two things I would do differently next time would be: 1. To not add the extra width in the bust.  I erred on the side of caution and added the extra material, but in the end I think it would have been fine without. 2.  To continue the waistband around to the back of the dress as well. 


I am really really happy with how this turned out, and I see more versions of this Jamie dress in my future.   Check out all the fabulous finishes over in the flickr pool, there have been some very cool variations, like this tunic length version by Kim.  I can totally see myself rockin' this tunic version with some capris over the summer.

If you're interested, here is a link to the pattern on etsy.  I can't say I'll be going into business as a seamstress anytime soon, but putting this dress together has significantly lessened my fear of sewing clothing, so thank you Sara for broadening my sewing horizons!!

I will be linking this post to Canoe Ridge Creations Sew Modern Monday!  Thanks Megan for hosting!!

{Sew} Modern Monday at Canoe Ridge Creations


Wednesday, April 13, 2011

Lookie what I found...


Lookie what I found on my latest trip to Joann's!  I had heard that Denyse Schmidt had designed a line of fabrics for Joann Fabrics, but I figured there was no way it would be in my Joann's out in the burbs in PA...but much to my surprise as I ventured back into the quilting fabrics to pick up some muslin, I spotted the DS Quilts Collection!  Eeek!!  All the prints were so so pretty, but I resisted and only picked up a half yard of these five prints.  I'm sure I'll be back for more, but this should get me started.

Sooo...bust out those Joann's coupons and go get some DS yummy fabric!!


WIP Wednesday {4.13.2011}

WIP Wednesday at Freshly Pieced

It's Wednesday, which means its WIP time!  Here's whats been going on in my sewing room this week...

Completed Projects

Amy Butler Cosmo Bag

Cosmo Bag

This is more of a start and a finish this week, I know I have had it listed as a WIP for some time now, but I got down to business this week, and completed the Cosmo bag from Amy Butler's Style Stitches book!  This bag monopolized the majority of my time this week, but its now completed, taken its maiden voyage to the gym with me, and I cannot say how much I love this bag!

Nook Cover


This was just a little mini project, but I figured I'd snap a pic of it before it goes to its new owner.  A co-worker of my moms was admiring the Nook cover I made for her and asked if I would be willing to make one for her daughter.  She said her daughters favorite colors were orange and pink, and this is what I came up with.  I pieced the front, but instead of quilting with batting, I used fusible fleece.  I really like the extra padding the layers of fusible fleece gives the holder, and, its much quicker than quilting the layers to batting.  Hope she likes it!

Ongoing Projects

3 x 6 Bee Blocks


We are now into the second quarter of 2011 in the 3 x 6 bee, which means a new beehive with new blocks to make!  I am the caretaker of beehive 24, and us caretakers decided to arrange a secret block swap along with our beehive blocks, and this is what I've drummed up.


Hexagons!!  I have always loved the look of hexagons, but they always seemed so labor intensive.  With the help of my Accuquilt GO! and the hexagon die, I think I had about 50 medium sized hexagons cut out in less than a half an hour, and then went to town basting them to paper templates, which has resulted in the above blue and orange in progress hexagon block!  Hopefully my partner likes!!  I must say, I do really like having a hand piecing/quilting project in the works that I can work on while mindlessly watching TV in the evenings.

Sis Boom Jamie Dress Sew Along

I'll be honest, I've gotten as far as prewashing my fabrics with this!  As the Cosmo bag was my "project of the week" last week, this dress is my project of the week this week!! 


Seeing all these awesome dresses in the flickr pool is just the motivation to get my butt in gear and sew a dress!!

Quilt tops awaiting quilting

Central Park baby quilt #1
Scrappy Rainbow Quilt

This Weeks Stats

New Projects: 0
Completed Projects: 1
Ongoing Projects: 7

Be sure to head over to Freshly Pieced and add your WIPs!