Sunday, November 14, 2010

Sweet Tooth

 This afternoon was spent auditioning cookie recipies (and decorating ideas) to make for the cookie exchange this year!  I'm torn between making ladylocks from scratch (always a winner with our crowd), or decorated sugar cookies.  Both are equally a pain in the butt to make, but very nice cookies that fellow exchangers are excited to receive.  
 
These really weren't that difficult to make, time consuming yes, but difficult, no.  The receipe I used makes a really really stiff dough, that actually instructs you to NOT refrigerate before rolling.  It made it easy to roll, with minimal stickage to my rolling mat. 
Sugar Cookie Recipe

1 cup butter (softened)
1 cup sugar
1 large egg
1 teaspoon vanilla
2 teaspoons baking powder
3 cups flour

Preheat oven to 400 degrees.  In a large bowl, cream butter and sugar with electric mixer.  Beat in egg and vanilla.  Sift baking powder with flour.  Add flour mixture, 1 cup at a time, mixing well after each addition.  The dough will be very stiff.  Blend in the last of the flour by hand.  Do not chill dough

Roll dough to a thickness of 1/4 inch.

Cut desired shapes using perimeter cookie cutters that have been dusted with flour to prevent sticking.

Remove excess dough.

Using a spatula dusted with flour, place cookies on a cookie sheet.  Leave 1" space between cookies to allow for minimal spreading. 

Bake 8-10 minutes or until cookies are lightly browned.  Place cookies on a cooling grid to cool completely.

Decorating:

To decorate as pictured, use a pastry brush and brush on piping gel (not the kind in a tube, but the kind that is clear and comes in a tub, labeled "piping gel").  Brush on a thin layer of piping gel onto cookies, and while gel is still wet sprinkle on colored sugar, sprinkles or other decorative candy.  Wait to package until gel is set. 


Happy holiday baking!

Thursday, November 11, 2010

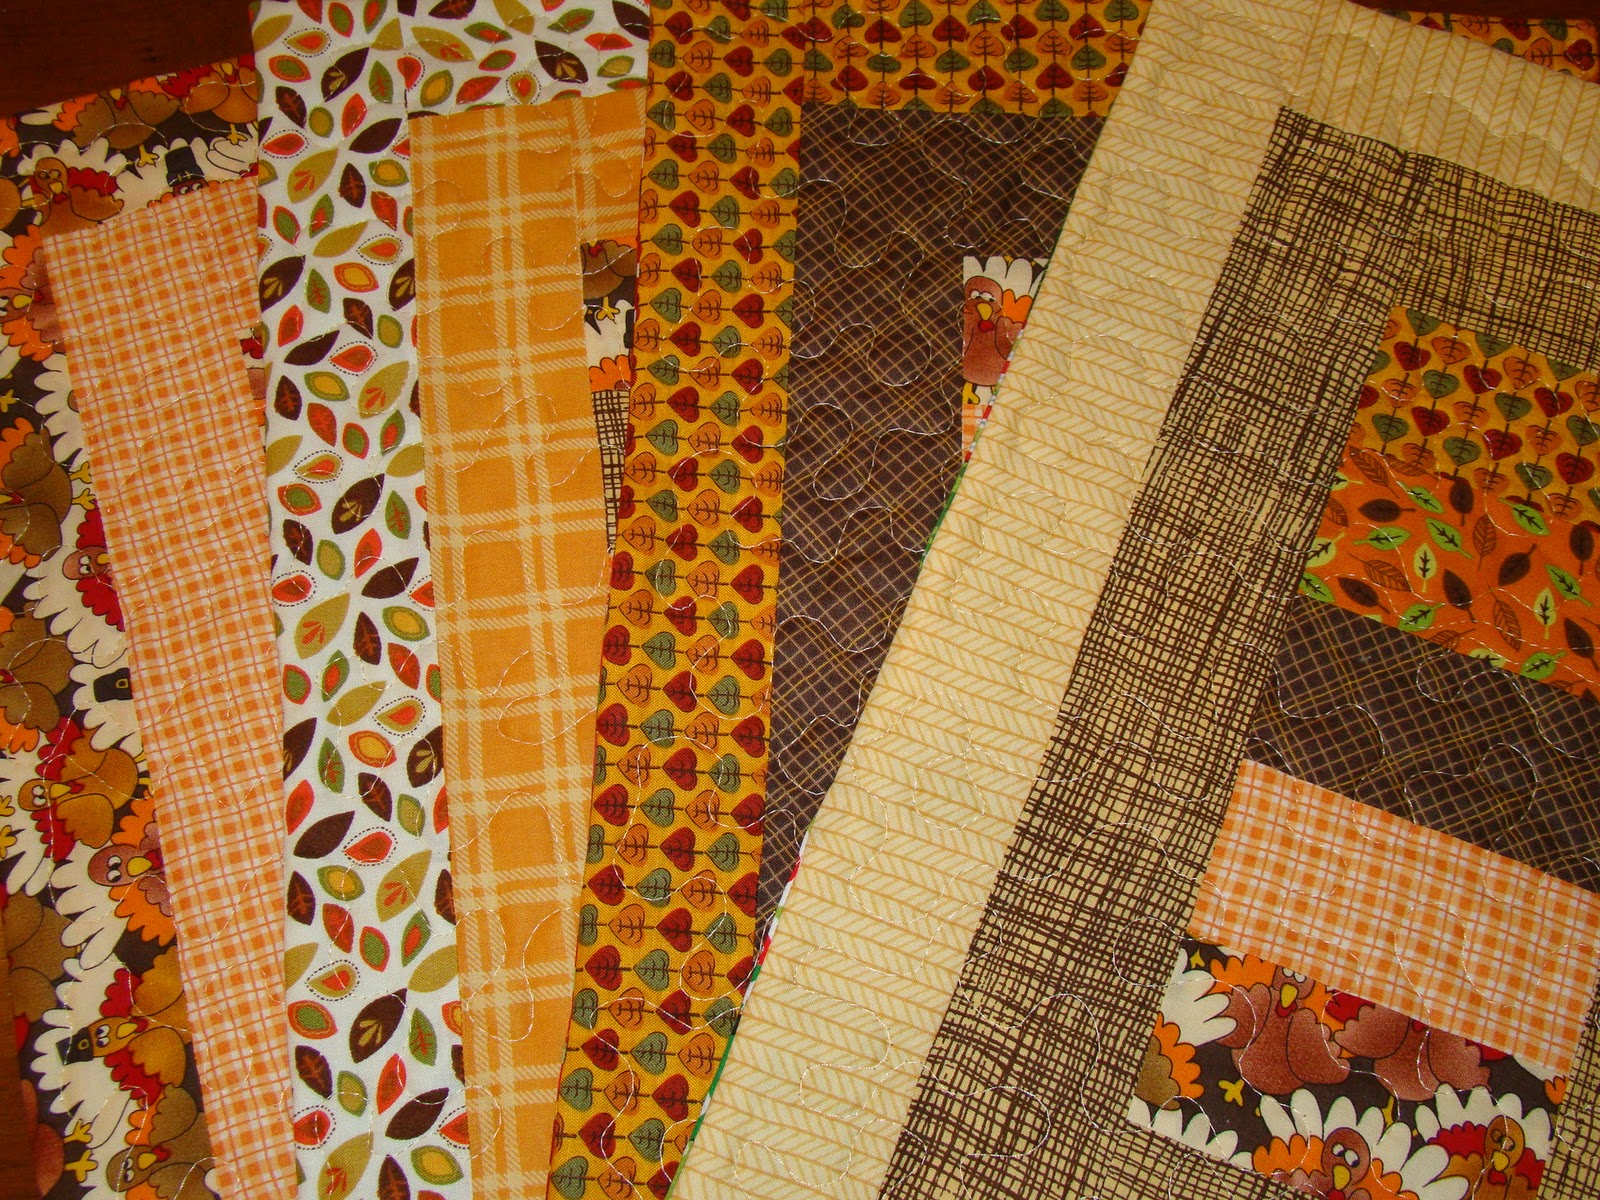
Reversible holiday placemats


I finished up the reversible holiday placemats I was working on...the finished placemats measure                 12 inches x 18 inches.  Again I used these placemats by Amy a la Mode as inspiration.  


I did a no binding method for finishing these, as I wanted them reversible, and couldnt decide on a binding color that I felt worked well on both sides of the placemats.  I free motion quilted these using some stippling.


These will yet again be put away as a Christmas gift for a coworker.


I will be linking these up to Amylouwho's sew and tell.  Stop by and see everyone's awesome finishes this week!

Monday, November 8, 2010

WIP mish-mosh

 All things Christmas seems to be my M.O lately!  I'm worried im going to suffer from "holiday burnout" before December!  I started a quick little project that will be a Christmas gift for a co-worker, similar to these, they will turn into reversible placemats.


The pattern for these was based on a pic I spied on Flickr made by Amy a la Mode.  I wanted the finished placemats to measure appx 12 inches x 18 inches, so I made the calculations for the fabric pieces myself.


This will be side one, and the backside will be Thanksgiving-y, using the second pictured placemat from Amy.


In other WIP news...October was my month in the simply strings bee, and I requested a spiderweb block using this tutorial and using solid blues, greens, yellows and grays.  I have just about all my blocks back, so I threw them up on the design wall to see what things look like...and TaDa!


I'm in love!  Everyone did such a great job with these blocks, I think what I am going to do is wait for my month in the solid bee so that I can have double the blocks to sew up a larger quilt.  I really could not be happier with how these blocks have turned out!


Friday, November 5, 2010

bees bees and more bees


I'm in a few quilting bee's, and as its the beginning of the month, that means new fabric for new blocks!  I'm in the 3x6 sampler quilt mini bee.  This bee is a little different, there are 7 people per "beehive", and the idea is each person requests the color theme of their block they would like and some general guidelines, and each person then makes the same block for each member of their beehive in their requested colors. 

For my blocks I decided to to a wagon wheel block using the tutorial from Three Kitchen Fairies.  This was my first attempt at anything circular...I think each block turned out better than the one before it, but I'm not sold on doing this block again. 

I posed this picture a few weeks ago of block #1 for bellsbellsjo:


Block #2 is for Shruti, she requested rainbow colors in pastels that will be put into a baby quilt for her niece.  I found a Moda charm pack of pretty soft girlie prints I had laying around and thought these would be perfect:


Block #3 was for windowshopmom.  She requested bright greens, grays and bright orange.  Bright colors...right up my alley! 


Block 4 was for oneblessedmama4.  She requested orange, red and chocolate brown and said that the blocks will be put into a quilt for her bedroom.  I was unsure about the color combination, but I LOVE!


Block #5 is for quiltedoma...our mama bee for our beehive.  She requested a rainbow/surprise!  These blocks will be put into a play quilt for her grandchildren, so I spy and bright colors were welcome and encouraged.  She requested not much white be used, as there is a good chance it will get alot of use, so I decided on dark gray as a background, eventhough my gut wanted white.


Block #6 is for jenjohnston.  She requested blue, green and white to add to her color spectrum quilt she is working on. 


Here's all 5 (minus bellsbellsjo's, as hers is already shipped out) on my design wall:


I'm really enjoying this bee, and will certainly be taking part in the next round, starting in January.  I like getting to see color combinations that I likely would not have decided to work with (like the red orange and brown) and see how they look together.  It's also nice to get to work with a more complex block as you only have to make 6 of them.  As opposed to most bees, this bee runs 3 months long, so theres plenty of time to get your blocks completed.  Definitly check it out on Flickr!

Up next was the November block for the Simply Strings bee.  This is a great bee, as we use all kinds of string quilt methods!  This month was Kristy's, loveoldhouses, month.  She chose a string block following the tutorial explained by rachel at psiquilt.  She sent lots of scrap strips along and encouraged us to add our own if we'd like!  Her only request was that we use the green strips as the center.  I just love the scrappy look of this, hope Kristy does too!


Lastly, my fabric arrived the other day for the solid block bee, and it was was craftymsp/Marie's month.  She had a super fun idea, and requested that our blocks be inspired by Tetris!  she sent along gray as the background and I received a bright turquoise and a bright reddish orange color and this is what I came up with: 


The colors look a little harsh here, but I'm pleased for the most part with how it turned out.  Improvisational piecing like this isn't my forte, but this was such a neat idea, I can't wait to see what the finished quilt will look like!

~Jessica


Monday, November 1, 2010

Applique table runner


My Christmas applique table runner is complete!  I know I'm a few holidays ahead here, but I've caught the Christmas crafting bug and I can't stop!  It's my turn to host the Christmas cookie exchange/bruch I am in this year, so I want to get my Christmas projects I have in mind completed ahead of time so I have them ready when decorating time rolls around!


I'm really pleased with how this turned out.  I have only tried raw edge applique one other time, and was really happy with the outcome, so when this idea popped into my head, I was cautiously optimistic that it would turn out as nice. 


I am always amazed at the mini quilts and applique that Carol, mamacjt creates and I was channeling her as I made this!

I used heat n bond lite to adhere my applique pieces, and then machine sewed each piece into place using my embroidery thread that gives the stitiches just a little bit of shine.

I was really unsure of how I wanted to quilt this, and tried out a few different filler ideas for both the "sky" and snowy ground.  I really wanted to somehow quilt a snowflake pattern into the "sky", but just couldn't find something that was dense enough that I really liked.  Alas, I went with what I know and love, swirls and stippling!  Its hard to see in the pictures because the fabric is patterned, but I used tight heavily quilted spirals for the "sky" and a really close together stippling for the snowy ground.  I'm happy with the outcome, especially the swirls, they are by far my favorite! 

Once the whole conglomeration was stitched and quilted, I added a fun red and green festive polka dot binding, and then went to town hand sewing the buttons, beads and bows as decorations!


I cannot wait for the Christmas season to be upon us, I could do without the cold weather, but decorating the house is one of my favorite things to do!  I'm sure I'll come up with a few other Christmas projects, but a tree skirt is pretty high on the to-do list right now.   I purchased a tree skirt pattern from mamacjt a few months back, and actually made the tree skirt here...however my one complaint was that I wished it were bigger!  So...I enlarged the pattern to be about a foot wider on each side, so that it will look better under
our large Christmas tree.  Stay tuned!

I will be linking this post to this weeks Sew and Tell over at Amy's from amylouwho!  Stop by and see all the amazing finishes this Friday!!


Friday, October 29, 2010

Bloggers Quilt Festival

In being a newbie-ish quilter so far, I knew nothing about the Bloggers Quilt Festival...until a few weeks ago!  As it is upon us now, head on over to amyscreativeside and check out the awesome entries.  I've been thinking about which quilt I wanted to enter, and decided on this one.


I started sewing  right after Christmas this past year, as my husband bought be a sewing machine as a gift.  I was beyond ecstatic, as it had embroidery features that I planned on using to embroider everything!  Little did I know that the embroidery feature would not be what I loved most about my machine.  I completed my very first quilt (a baby quilt for a friend) in February, and I was hooked!

The quilt I decided to enter to the festival is my value quilt.  I had never taken color value into consideration when making a quilt before, and I learned so much beyond just deciding on what color scheme I want to use for a particular quilt. 


I really love the scrappiness of this quilt, I used a scrap of each and every fabric I had in my stash at the time and am still amazed that its not the color that makes this quilt so great, but the value in pairing the colors together.  It still amazes me that the quilt design comes completely from how you place each square in the arrangement.  I can assure you there will be many more quilts based on value of color in my future. 


This quilt will be a gift for my mom for Christmas this year, and while hard to part with, I cant wait to give it to her, as I know she is going to absolutely love it! 


Wednesday, October 27, 2010

Sneak Peak

I am always so impressed by what Carol, mamacjt does with her mini quilts and applique, and feel I am channeling her in my latest project! 


I am working on an applique Christmas table runner, this is just one portion, but I'm really liking it! 


Hopefully in the next few days I'll get the rest of this pieced together and quilted!  Stay tuned...

In other projects, a friend of mine had asked if I could make her a few Steelers themed totebags as gifts, and this is what I came up with!


I used the tutorial found here from jcaroline creative.  I'm super happy with the way these came out, not overtly Steelers from the looks on the outside but fun Steelers lining on the inside.   Definitly checkout this tutorial if you are looking for a tote bag, by far my favorite I've come across so far!