
Today I have my very first Sew Together Bag that I shared at Ellison Lane as part of Jennifer's Patchwork Summer Series back in the beginning of July. I'm sure you've seen these all over the blogosphere and on Instagram, I know I sure had, and finally bit the bullet to make one of my own, and I'm very glad I did!
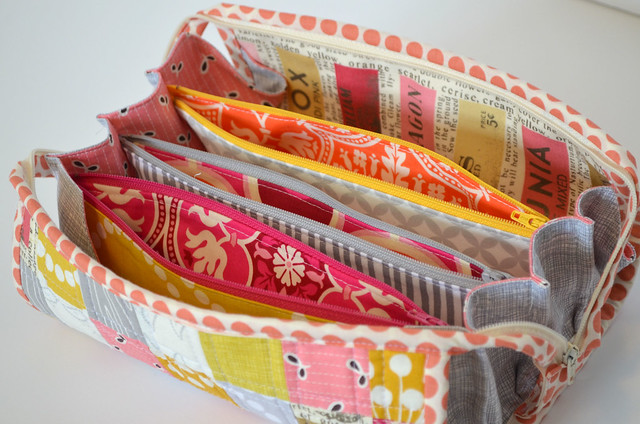
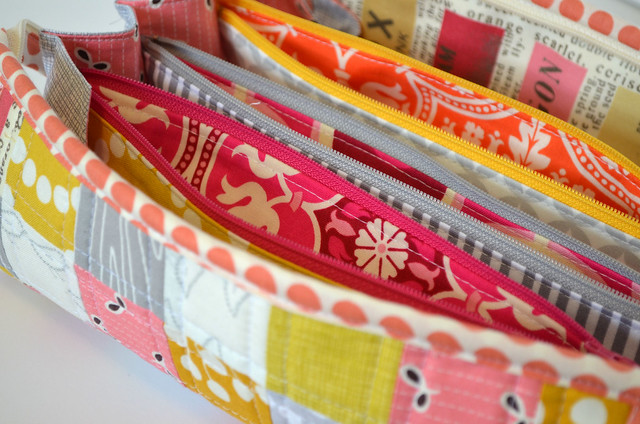
I am completely smitten with this bag, I had planned on keeping it all for myself, but ultimately decided to gift it to my sister in law for her birthday and make myself a second one. This bag has more pockets, and zipper pockets than anyone could ever completely fill, but I'm sure Amanda will find plenty of goodies to stash! While I love the one I made for myself, this one holds a special place in my heart.
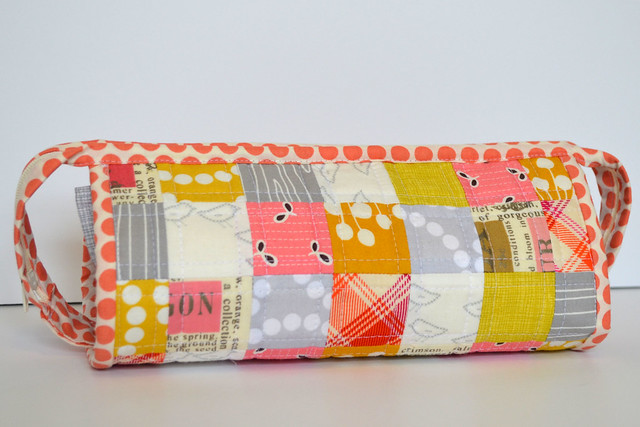
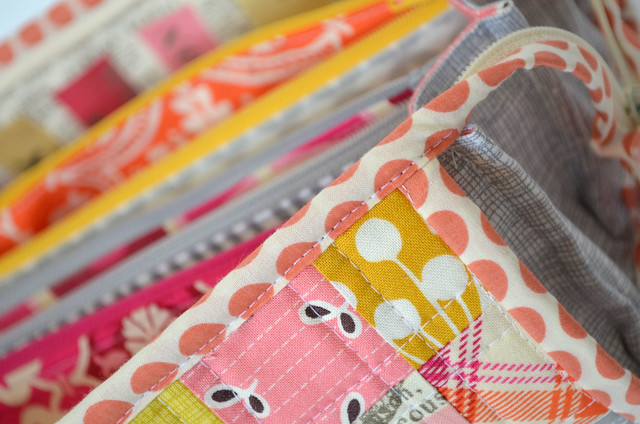
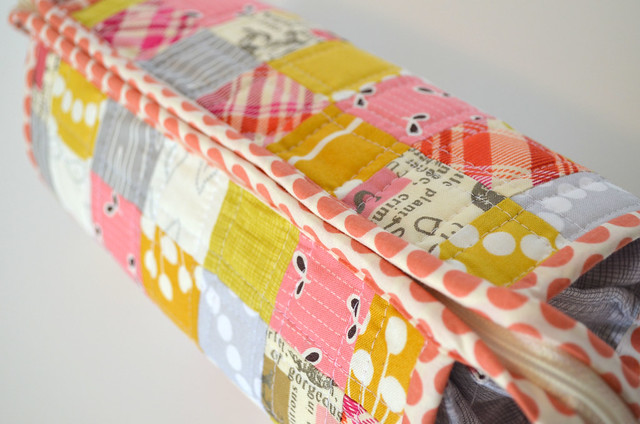
My absolute favorite part of this bag of course is the outside. What's great about this pattern is the outside can be a solid fabric, or quilted like this patchwork version. I chose to use left over scraps from the pockets on the inside and added in extra scraps from my stash in pinks, yellows and greys.
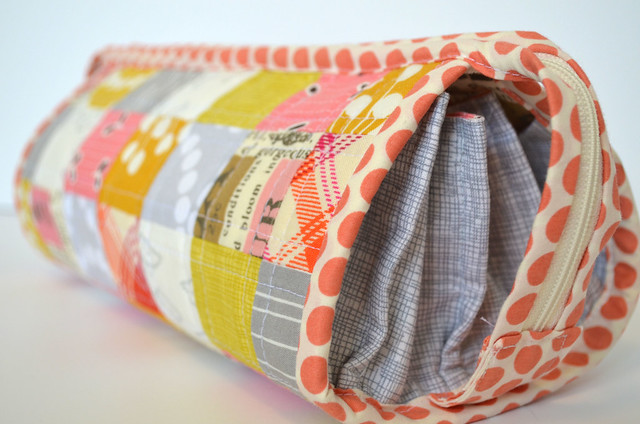
I used 2" unfinished squares that finished at 1.5" and quilted 1/4" on the outside of each seam. While I will never pass up an opportunity for some free motion quilting, there is something to be said for simple straight line quilting. It always looks so clean, fresh and polished.
If you haven't tackled a Sew Together bag yet, I highly highly recommend it. Don't let the zippers intimidate you, just think you'll be a pro at installing them by the end of this bag! I will say the pattern itself left me a little puzzled at a few of the steps, but I followed along with The Quilt Barn's Sew Together Bag Sew Along and easily finished the pattern. Heather's step by step instructions and pictures made easy work of a few parts that likely would have left me quite frustrated had I only the pattern to follow along with.
It looks great! I couldn't have made mine without Quilt Barn's tutorial help either. I need to made another one one if these days.
ReplyDeleteWow! Your version is totally fabulous - I think it's the prettiest I've seen!
ReplyDeleteAbsolutely LOVE these colors and fabrics. I have made several of these, and will be making more for sure.
ReplyDeleteLove the colours you have used on this one! I have the pattern downloaded so will definitely go and check out the Quilt barn sew-along tips!
ReplyDeleteI already sew three of them, one for me and two for gifts, but I am already planning more of them. The Quilty Barn sew along was so helpful!!!
ReplyDeleteYour bag is fabulous! I might need to try this...even with all those zippers :)
ReplyDeleteLOVE your Sew Together.... the fabrics are delicious all together!! What a delight to look at!!
ReplyDeleteSusie
this sew together has so many wonderful prints on it -- your SIL is gonna love it
ReplyDeleteLove the colours and fabrics and I really do want to make one of these!
ReplyDeleteReally cute and lots of fun places to stash debris. LOL
ReplyDeleteLove it