Tuesday, December 27, 2011

Bertha's first project


Whew!  I'm starting to settle back into the normalcies of life after the whirlwind of this past holiday weekend.  Hope everyone had a wonderful holiday, and enjoyed  time spent with family and friends, I know we sure did. 

Santa was overly generous this year, and left a new sewing machine under the tree, which I was ecstatic about.  I just love my new machine, which I've affectionately named Bertha, as in Big Bertha, as she towers over my old machine and makes it look like a toy.  


We've been spending some time getting to know one another, and just last night she completed her first project.  I have been eyeing this iPad case tutorial from Faith of Fresh Lemons for some time now, and had every intention of making one for the hubby's iPad for Christmas, however I just ran out of time.  My soon to be sister in law just received a Nook for Christmas and asked if I'd make her a case, and I immediately thought of Faith's tutorial and of doctoring it up to fit a Nook.  


I altered my dimensions to make it Nook sized, and decided that I wanted a top zipper closure instead of a flap velcro closure.  Because I used the zipper tabs on the top zipper, the case is quite roomy on the inside, but I think it works.  


I just love the front zipper pocket idea, this was genius Faith!  It will be perfect for storing head phones, charging cables or miscellaneous items that are always getting misplaced.  After seeing how well this turned out, I'm thinking my Nook needs a new home too.


Amanda loved the quilt that I made her for Christmas this year, so I used some more Terrain to make her Nook case, I'll be giving this to her this weekend, hopefully she likes it!


Wednesday, December 21, 2011

Last minute gift ideas: Jane Market Tote


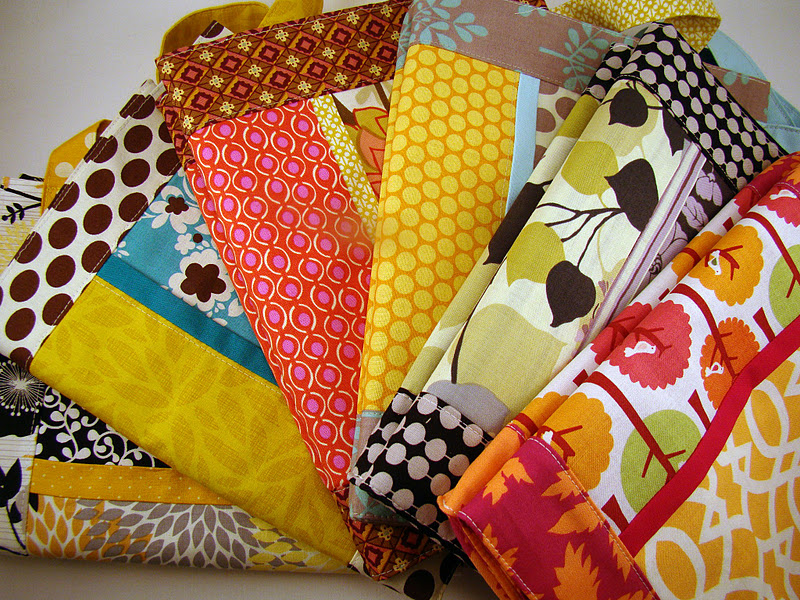
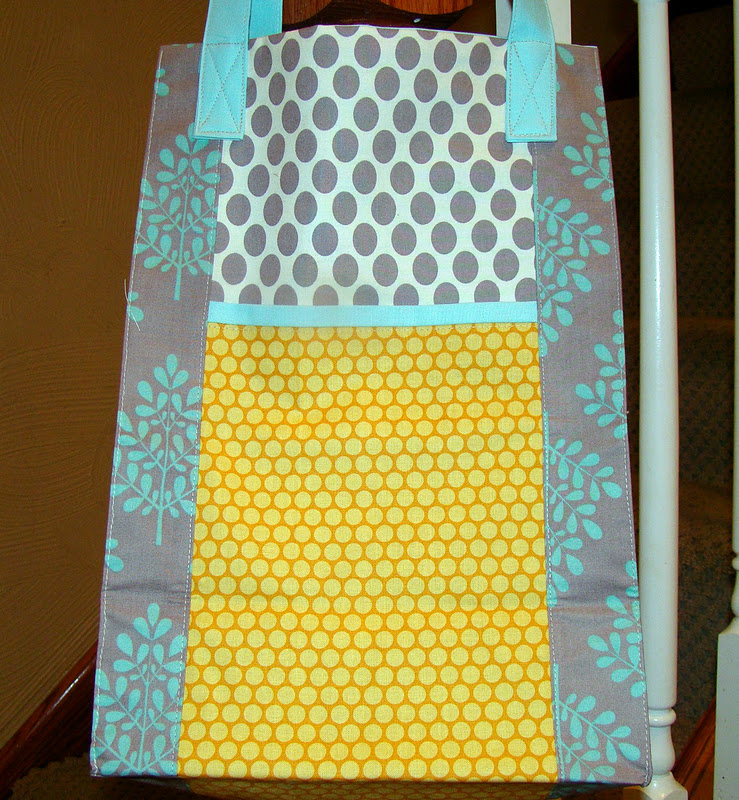
I had been eyeing the Jane Market Tote pattern from sometime now, and after seeing Kati's bag posts (here, here, here and here) last week (yes, she has been a bag making machine!), I knew now was the time to get creating.  I finally purchased the pattern for these bags (it's in PDF form, so instant shopping gratification) and thought these would be the perfect Christmas gift for a few coworkers.  


The most fun part, or course, was picking out all the fabrics.  Thanks to Kati, she shared with me her secret for making these bags fat quarter friendly, and my available fabric choices increased exponentially.  It really felt nice to use up a good bit of my fabric stash, using fabrics that I've had laying around for quite some time now.    


In using Kati's suggested alterations, these bags are just a pinch smaller than the resulting pattern size, but I still think they make a great on-the-go tote size.  I also added interfacing to everything but the pockets and lining for a little added stability, and it really makes a world of difference.  I also lined my pockets and folded the pockets so that a pinch of lining showed through. 


Hope my coworkers dig these as much as I do, Happy Holidays!


Monday, December 19, 2011

Last minute gift ideas: Easy Patchwork Placemats

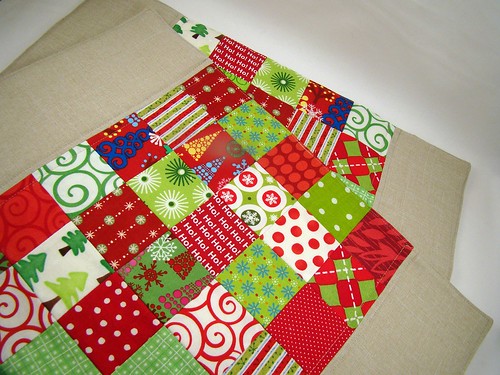
Patchwork and linen placemats

Is anyone else mildly freaking out that Christmas is in a mere 6 days?  I'm actually doing ok.  I think.  Just about everything has been purchased, and all my hand made gifts have been made, but I now have an overflowing closet full of things that need wrapped.  In case you are scrambling for a few last minute hand made gifts, over the next few days I have a couple of quick and easy projects that would make great last minute gifts!

Patchwork and linen placemats

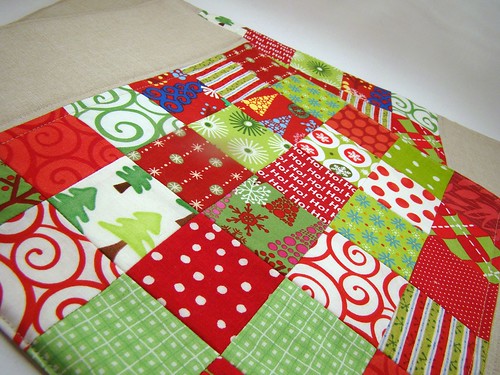
I whipped up these patchwork placemats using up some scraps left over from my recent Christmas tree skirt.  My Accuquilt GO! and 2.5" inch die made quick work of the cutting (however you only need 30 squares per placemat, so rotary cutting would be easy also), and I pieced them into a block of 5 squares x 6 squares.  

Patchwork and linen placemats

I was fresh out of quilters linen, so I actually had this linen I picked up at Joanns a while back that's from the garment sewing section.  I used some very light weight interfacing on the wrong side of the linen to stabilize the fabric, as the linen had a little stretch to it.  

Patchwork and linen placemats

These finished placemats measure 12" x 18".  I skipped messing with binding to save on time, and layered some batting before sewing these wrong sides together and turning right side out.  I edge stitched 1/8" from the edge, and then 1/4" on either side of the linen/patchwork seam.  

Patchwork and linen placemats

Yield: 2 fun and festive (and more importantly quick and easy!) placemats.  

Happy holiday sewing!


Friday, December 16, 2011

Sew Mama Sew Giveaway Day Winner


First of all I have to say I am completely overwhelmed by the response to this giveaway!  649 comments?!?  That is certainly a record for sewcraftyjess.  Thank you to everyone who entered and commented, please know that while I wasn't able to respond to everyone's comments, I did read each and every entry, and was in awe of everyone's WIPs!  I'm glad to know I'm not the only one in holiday crunch mode.    

Now, onto the winner of the bundle of Kate Spain Terrain fat eighths and holiday pin toppers...drum roll please....


Congrats Katie!  I will be contacting you shortly to arrange delivery of your winnings!  (don't let that "#75" fool you...she is indeed the 475th comment, the comment number-er widget only goes to 200 and then resets itself.  Want to number your own comments?  Here's the tutorial I used.)

Thanks again to all who entered, now back to that feverish holiday sewing!  


Monday, December 12, 2011

Sew Mama Sew! Giveaway Day

***This Giveaway is now closed***


It's that time of year again, and one of my absolute favorites, Sew Mana Sew's Giveaway Day!  Welcome to my little corner of the blog-o-sphere, and thanks for stopping by.

If you're new to sewcraftyjess, again hello and welcome, please, stay and play for as long as you'd like!  My name is Jessica and over the past two years I have become quite the quilting enthusiast!  My eye is always drawn to bright fun modern prints, which makes up the bulk of my fabric stash.    For Giveaway Day, I thought I'd do a little destashing, and pass along a few prints from one of my favorite fabric lines, Terrain.  

Now onto the good stuff, here's what's up for grabs:


I'll be giving away six fat eighths of Terrain by Kate Spain for Moda as pictured, and two hand made holiday themed pintoppers to add in some holiday cheer as well.

As for the nitty gritty, here's how to enter:

1.  Leave me a comment telling my about your latest or current crafty project.  (If you are a no-reply blogger, please include your e-mail in your post!)
2.  How about we add one more chance to win, become a follower, and leave me a comment, or leave a comment letting me know if you already are! (again, make sure I have your contact info if it's not listed in your profile)

The giveaway will be open until Friday, December 16th at 5:00 PM PST.  

Mr. Random draw one winner and I will notify him/her about their winnings (again, please please make sure I have a way to contact you, if the winner does not have contact info listed either in their profile or in their comment, a second winner will be drawn).

I will ship internationally, so all are welcome!

***This Giveaway is now closed***

Thursday, December 8, 2011

it's the holiday season

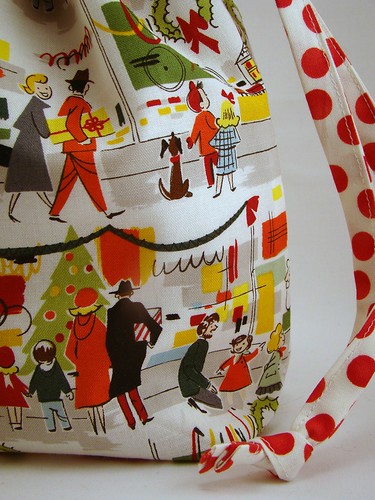
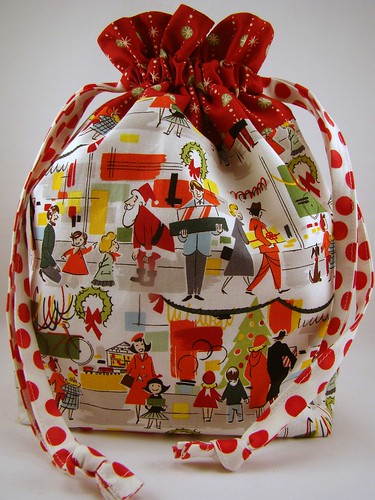
lined drawstring bag

I am officially in full on holiday mode here, and checking my to do's off my list one thing at a time.  You all know how much of a sucker I am for a good swap, so when Amy organized the Secret Santa swap over on twitter, I just couldn't resist.  

lined drawstring bag

I put together this lined drawstring bag using Jeni's tutorial, and am absolutely in love with this pattern.  I'm thinking there will be many a Christmas gifts "wrapped" in one of these drawstring bags.  Jeni also has a pattern for this drawstring bag for 7 different sizes as well, I'm thinking I'll need to purchase that pattern!  

lined drawstring bag

Secret intel tells me my partner digs this Merry Main Street Alexander Henry print, so I paired it with some Ready Set Snow by Me and My Sister designs for Moda.  The outer accent red fabric is another Christmas Moda print as well.

lined drawstring bag

Here is my swap package ready to be shipped off tomorrow, hopefully my partner likes!  I used some more Merry Main Street to "wrap" a quilting/sewing book for my partner (which would totally give it away if I showed what it is!) and added a few fat quarters from my stash and 2 holiday pin toppers.

twitter swap package

How is your holiday sewing coming along??


Monday, December 5, 2011

Festive Christmas Tree Skirt & tutorial

DSC04183

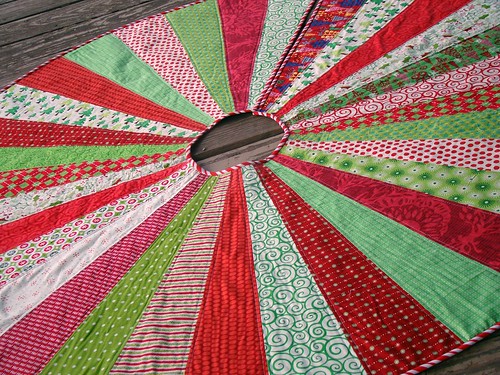
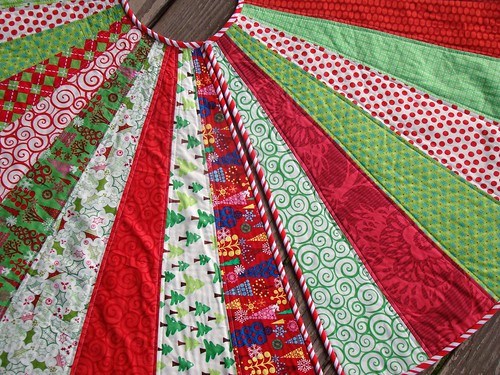
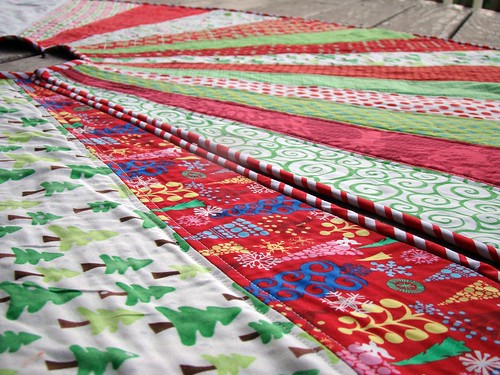
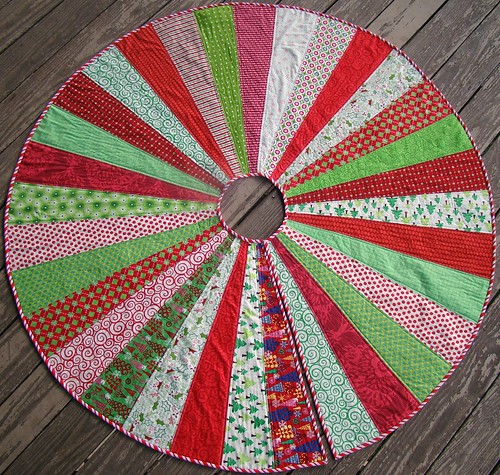
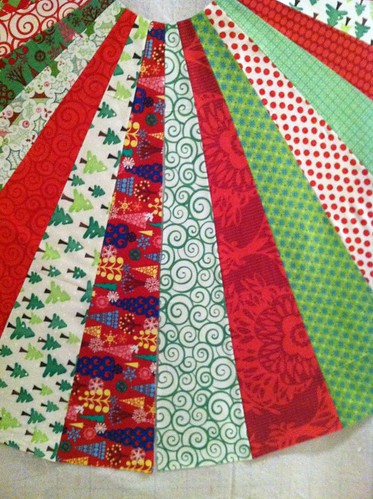
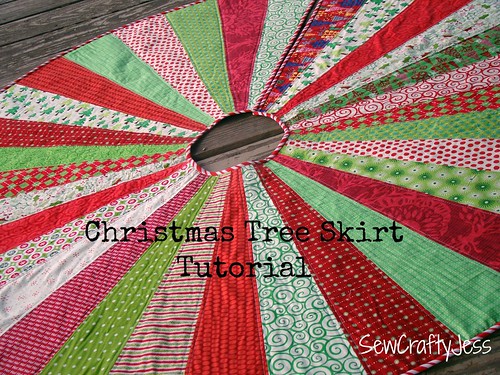
My monstrously large behemoth Christmas tree skirt is finished!  I have been wanting to make a larger Christmas tree skirt since last Christmas, and of course waited until December to tackle that project.  I have a few tree skirts including this one, which I absolutely love, however find it to be just too small for our large live tree we get every year.

DSC04186

This skirt measures 60 inches in diameter, and took a little quilty math and geometry to figure out the logistics, but in the end I must have retained something from 9th geometry with Mr. Rizzardi because it came together easy as pie.  With a little help from Google on how exactly to use a protractor (seriously never thought I would need those 9th grade skills again...) I had the dimensions for my large and in charge tree skirt.  

DSC04189

I used a plethora of various holiday prints from my stash as well as some non-holiday red and green favorites.  I didn't get a chance to snap a picture of it nestled quite nicely under our tree, but I am so so pleased with how this turned out, and I'm sure will be used for many years to come.

Christmas tree skirt

Quilt Stats:
Quilt Name: Festive Christmas Tree Skirt
Size:  60" round (diameter of 60")
Fabrics:  Assorted holiday and red and green prints
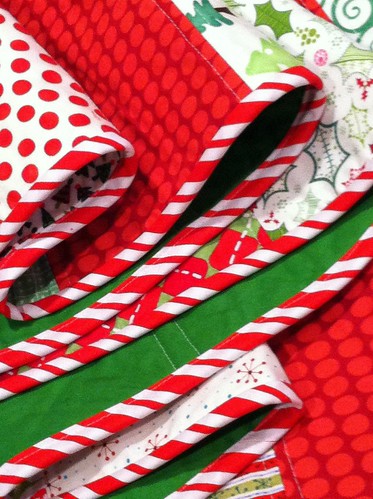
Binding: Bias cut red and white stripey fabric found at Joann's
Quilting:  Straight line quilting 1/4 inch on either side of each seam done by me

DSC04185

In case you'd like to make your very own tree skirt here is a tutorial for how I made mine:

DSC04183a

Printable PDF pattern available here

Please note:  Read ALL instructions before beginning

Fabric Requirements

6 yards total of assorted prints
·         (32) 6.5" x 26.25" or (32) 6" x 23.75" strips of festive fabric (choose one set measurements for all 32 strips of fabric)
approximately 1 yard fabric for binding
3 yards fabric for backing

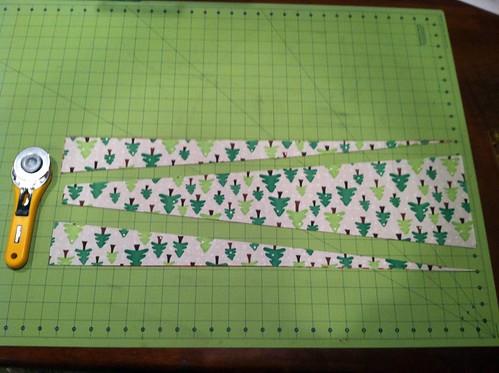
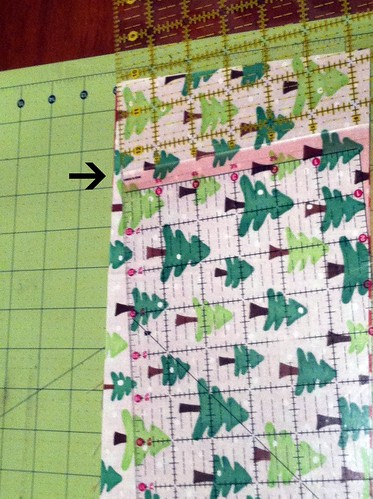
1.  Measure and cut (32) strips of fabric using either 6.5” x 26.25” or 6” x 23.75” for all (32) strips.  Using the first set of measurements will yield a completed skirt measuring approximately 60" in diameter.  Using the second set of measurements will yield a skirt slightly smaller than 60” in diameter. 
  • As shown below, if you choose to use the first set of measurements, creative cutting will be necessary when cutting the angles for the wedges, as the cutting line will be longer than a standard 24” quilting ruler.


o   Tip:  Like shown below, align a second quilting ruler to reach the full cutting distance OR use the 6” x 23.75” measurements listed above, which will allow you to make all cuts using a standard 6” x 24” quilting ruler.
tree skirt tutorial

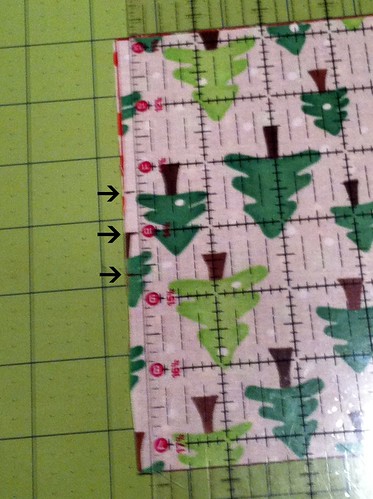
2.  Once fabric strips are cut, make one small mark to indicate the center of one short edge (6.5” or 6” edge): at 3.25" from the edge if you are using the larger measurements or at 3" from the edge if you are using the smaller measurements.  Make (2) more marks, 5/8" on either side of your middle mark, as shown below.
  • Tip:  cut several strips at one time by layering multiple strips on top of one another to save time marking and cutting.

Christmas Tree Skirt Tutorial

3.  Now align your ruler from the far left mark you just made to the opposite left corner and cut your fabric.  Repeat for the right side.

Tree Skirt Tutorial

4.  Once all (32) wedges are cut, sew all wedges together using a ¼” seam allowance.  Leave one seam un-sewn.

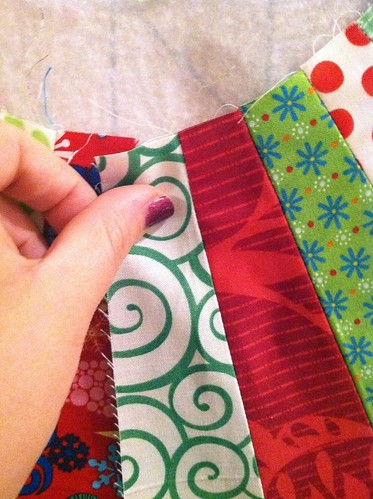
5.  Spread out the tree skirt top on a design wall or the floor.  The seam that was left un-sewn should overlap by about 1/2" as shown below.


Tree Skirt tutorial

6.  Trim approximately ¼” off of each wedge at the un-sewn seam so that it lays flat and no longer overlaps.  Do not worry if more than ¼” needs trimmed, simply trim so that the seam no longer overlaps.  


7.  Baste, quilt and bind using bias binding to finish the tree skirt and enjoy!
Please contact me at sewcraftyjess@gmail.com should you have any questions, happy holidays!